
To remove car wax, start by washing your vehicle thoroughly with a pH-balanced soap to eliminate dirt and oils. Next, use chemical wax removers or specialty cleansers along with mechanical methods like clay bars or a dual-action polisher to break down and strip wax residues safely.
Afterward, dry with fresh microfiber towels and inspect for leftover wax under natural light. Following this precise process guarantees a clean surface ready for new protection. Explore further to master each step in detail.
Key Takeaways
- Wash the vehicle thoroughly with pH-balanced soap and dry with microfiber towels to remove surface dirt before wax removal.
- Use clay bars with lubricant to lift embedded wax residues and contaminants without damaging the clear coat.
- Apply chemical wax removers or specialty cleansers to break down stubborn wax layers safely.
- Employ a dual-action polisher with appropriate pads and compounds for mechanical wax residue removal using gentle, overlapping strokes.
- Inspect under natural light and dry with fresh microfiber towels to ensure complete wax removal and prepare for re-waxing.
Different Types of Car Wax
How do you choose the right car wax for your vehicle? Start by identifying the wax composition: synthetic waxes (sealants) offer long-lasting protection by chemically bonding to paint, making them ideal for harsh conditions and daily use.
Natural waxes, primarily carnauba, provide a deep, rich gloss and superior water repellency but need frequent reapplication. Hybrid waxes combine synthetic durability with natural shine.
Regular waxing protects paint and maintains a “like new” appearance, which is essential for vehicle care. Many enthusiasts compare wax choices similarly to selecting between synthetic and conventional oils, considering performance and longevity.
Consider wax form: paste wax delivers the thickest, most durable layer with a glass-like finish but requires more effort. Liquid wax balances ease and protection, needing section-by-section application.
Spray waxes apply quickly but offer less durability, making them suitable for quick maintenance. Selecting the right product also involves understanding viscosity retention and protection characteristics similar to motor oils, which influence durability and effectiveness.
Your selection depends on your priorities—longevity, shine, application method, and environmental exposure. This understanding ensures effective wax removal tailored to the wax type used.
Essential Preparation Steps Before Wax Removal
Start by washing your vehicle thoroughly with a pH-balanced car soap to remove dirt, oils, and contaminants that could interfere with wax removal. Proper surface preparation allows for better wax bonding and longer-lasting results. After rinsing, dry the surface completely using ultra-soft microfiber towels to prevent water spots and scratches. Finally, inspect the paint carefully to guarantee it’s clean and free of residues before proceeding.
Thorough Vehicle Washing
Before removing wax, you need to wash your vehicle thoroughly using a pH-balanced car wash soap designed to protect paint, trim, and clear coat. Use a two-bucket method with a microfiber mitt, washing from top to bottom.
Rinse frequently to prevent contaminant redeposition. This initial cleaning step is crucial to remove loose dirt and soils before tackling wax removal. Additionally, properly folding mirrors before washing can prevent costly damage from automated equipment.
For heavy wax build-up, multiple washes or a wax-stripping soap may be necessary. Avoid household detergents as they damage finishes. This method ensures an excellently clean surface before wax removal.
| Step | Description |
|---|---|
| Soap Selection | pH-balanced, foaming, safe on multiple surfaces |
| Washing Technique | Top-down, two-bucket method, microfiber mitts |
| Rinsing | Frequent rinsing to avoid dirt redeposit |
| Residue Removal | Use wax-stripping soaps or diluted IPA wipes |
Drying And Surface Check
Once you’ve thoroughly washed your vehicle and removed loose dirt and wax residues, drying the surface with clean microfiber towels prevents mineral spots and potential scratches. Use fresh towels, patting dry instead of rubbing, to minimize abrasion.
Immediately dry all crevices and panel gaps, avoiding high-force air blowers that could deposit debris. This step prepares vehicle surface for new wax application, ensuring better adhesion and finish. Proper surface preparation is as crucial as selecting the right filtration efficiency to protect your vehicle’s finish.
Next, conduct a detailed surface inspection under natural light to detect residual wax, contaminants, or uneven shine. Run a clean microfiber cloth over the paint to locate slick or hazy areas signaling wax presence.
Key steps include:
- Use fresh, clean microfiber towels to prevent scratches
- Pat dry carefully, avoiding rubbing
- Inspect under natural light for wax residues
- Check for uneven shine or contaminants
- Dry crevices thoroughly to prevent residue buildup
Chemical Products Effective for Removing Car Wax
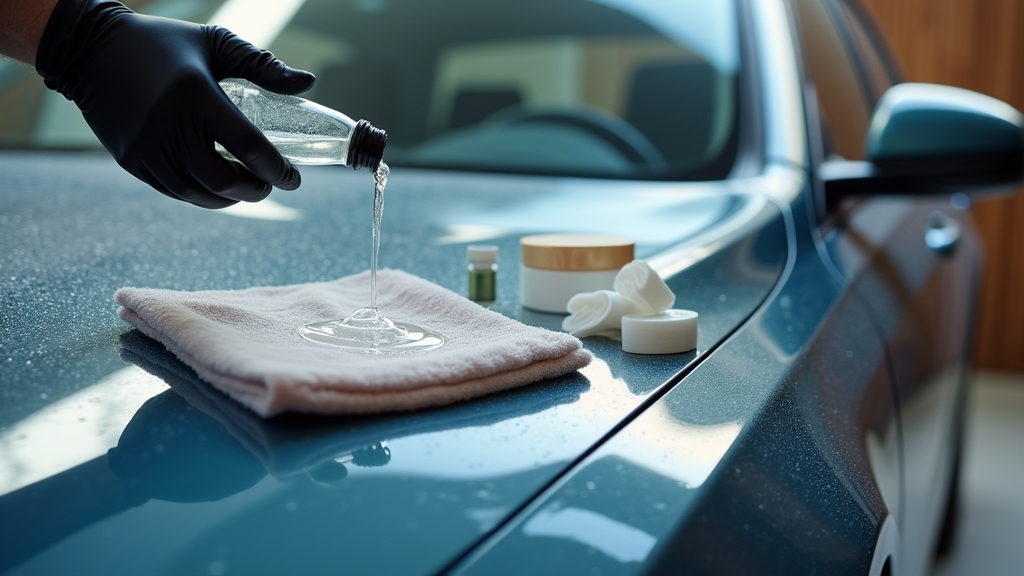
When you need to remove car wax effectively, selecting the right chemical products is essential to preserve the vehicle’s finish while stripping away old wax layers.
pH-balanced soaps and surfactants, such as Chemical Guys’ Clean Slate Surface Cleanser, offer a gentle yet efficient option that targets wax residues without damaging paint, plastics, or rubber. This product is designed to strip off glaze and sealant, leaving a residue-free finish that prevents stains and spots.
Citrus-based soaps also break down grime without removing protective layers.
For heavier buildup, acidic or alkaline presoaks with surfactants penetrate and dissolve stubborn wax and contaminants but require careful dilution to avoid surface harm.
Specialty wax removers and paint cleansers, like Pinnacle Paintwork Cleansing Lotion or P21S Gloss Enhancing Cleanser, strip wax while enhancing gloss, preparing the surface for reapplication.
Always follow with a thorough rinse to remove residues and maintain finish integrity.
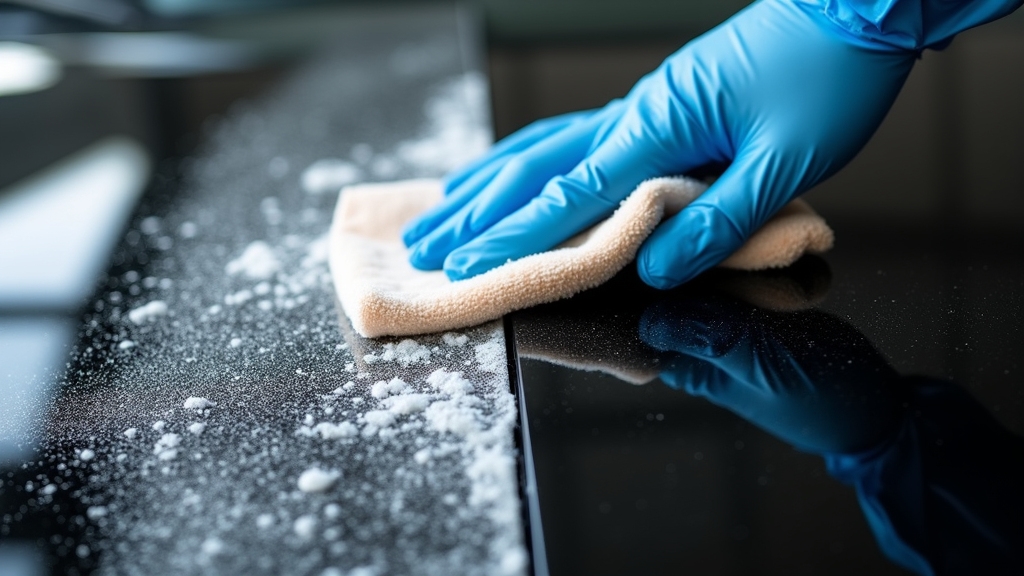
Mechanical Techniques to Strip Wax Residue
You’ll start by applying a clay bar to physically lift wax residue embedded in the paint, ensuring proper lubrication to avoid surface marring. This step is crucial because mechanical decontamination helps in removing contaminants that chemical methods might miss.
Next, polishing with a dual-action polisher at controlled speeds can mechanically remove residual wax layers without damaging the clear coat.
Finally, employ microfiber cloths to buff and wipe away softened wax, changing towels frequently to prevent re-depositing residue or scratching the surface.
Clay Bar Application
Although mechanical techniques like clay bar application are primarily known for removing embedded contaminants, they also play a crucial role in stripping wax residue effectively.
Before starting, wash and dry the car thoroughly to prevent trapping dirt. Use lubricant generously to reduce friction and avoid clear coat damage. Work in small sections, applying light pressure with a kneaded clay bar using straight motions.
Regularly check and reshape the clay to expose a clean surface. The use of Chemical Guys clay bars ensures optimal results in this process. Regular maintenance with lubricity-enhancing treatments can further protect your vehicle’s finish.
- Wash and dry the vehicle completely before claying.
- Spray dedicated clay lubricant liberally on each panel.
- Use gentle back-and-forth strokes with light pressure.
- Knead clay regularly to avoid reapplying contaminants.
- Wipe down surfaces post-clay and verify smoothness with the baggie trick.
This method ensures wax residue removal while preserving paint integrity.
Polishing For Removal
Since mechanical polishing machines provide efficient wax residue removal, mastering their proper use is essential for preserving your vehicle’s paint integrity. Use dual-action polishers for controlled, swirl-free wax removal, or rotary machines if you’re skilled enough to avoid clear coat damage.
Select appropriate polishing pads and compounds based on wax thickness and paint condition. Maintaining proper lubricity during polishing is crucial to prevent haze and holograms on the paint surface. Maintain moderate speeds (1000-1500 RPM) and slow, overlapping passes with gentle pressure. Confirming wax removal with a simple water test after polishing ensures the surface is properly prepared for further detailing.
| Feature | Recommendation |
|---|---|
| Machine Type | Dual-action for safety; rotary if skilled |
| Polishing Pads | Foam or microfiber for heat reduction |
| Speed Setting | 1000-1500 RPM |
| Compounds | Mild to medium-cut abrasives |
| Motion Technique | Slow, straight-line overlapping passes |
Follow these guidelines to remove wax efficiently without compromising paint.
Microfiber Cloth Techniques
When removing wax residue mechanically, choosing the right microfiber towel and applying proper wiping techniques considerably impact the effectiveness and safety of the process.
Select towels with 350-500 GSM for ideal absorbency and softness, preferably edgeless or laser-cut to prevent paint scratches. Fold towels into multiple clean sections to avoid reapplying residue. Using a microfiber bonnet over foam pad ensures even pressure and prevents pressure points during machine removal. Incorporating a ceramic coating after wax removal can enhance paint protection and surface gloss.
Use the flat weave side for buffing, employing gentle, overlapping motions with consistent moderate pressure to break wax bonds without damage. For large or stubborn areas, microfiber bonnets on dual-action polishers automate uniform pressure distribution.
- Use plush towels for wax removal; thinner towels suit glass.
- Hand wipe wet wax for better control.
- Avoid abrasive particles; always check towel cleanliness.
- Wash towels separately with microfiber detergent.
- Air dry or machine dry low; no fabric softeners.
Benefits and Proper Use of Clay Bars
Because clay bars effectively remove bonded contaminants that traditional washing leaves behind, they play a crucial role in car detailing. Using a clay bar eliminates industrial fallout, brake dust, sap, and pollution particles, restoring paint smoothness and preventing corrosion or etching. This process not only removes stubborn contaminants but also restores the vehicle surface to a smooth, polished state for a showroom finish, enhancing luster and vibrancy.
This process creates a sleek surface that improves wax adhesion and prolongs protection. Proper surface preparation and maintenance, including attention to filtration efficiency, ensure long-lasting results. Before claying, you must thoroughly wash and dry your vehicle. Always use a dedicated lubricant to avoid marring, applying light back-and-forth strokes and folding the clay to expose clean surfaces regularly.
Work methodically in small sections, selecting the appropriate clay grade based on contamination severity. When executed with proper technique, it is proven to be safe and efficient, extending vehicle lifespan by maintaining paint integrity and reducing repair needs.
Besides paint, clay bars also clean glass, metal, and chrome, making them versatile for thorough detailing and ensuring ideal surface preparation prior to waxing or polishing.
The Role of Polishing in Wax Removal

Although waxing provides a protective layer to your vehicle’s paint, polishing plays a critical role in effectively removing old wax residues. Polishing gently abrades the clear coat, breaking down wax layers and smoothing the surface microscopically.
This process not only removes wax but also reveals imperfections previously masked. It is important to use wax remover or pre-polish cleansers to ensure all old wax residues are fully eliminated before polishing. Using the correct application techniques enhances the effectiveness of the polishing process.
When polishing to remove wax, keep these points in mind:
- Prep the surface with thorough washing and decontamination to avoid trapping debris.
- Use appropriate polishing compounds or soaps that strip wax while enhancing gloss.
- Apply polish evenly with microfiber applicators or polishing pads to prevent paint damage.
- Employ dual-action polishers for controlled abrasion and safety.
- Work in small sections, maintaining proper speed and pressure for consistent results.
This method assures effective wax removal and prepares your paint for subsequent treatments.
Best Practices for Post-Removal Surface Care
To guarantee ideal adhesion and longevity of your next wax application, you’ll need to execute meticulous surface cleaning and preparation immediately after wax removal.
Start by washing the car with a pH-balanced soap to eliminate dirt and residual wax without stripping essential paint oils. Removing old wax is essential because old wax acts as a barrier, preventing proper bonding of new sealants. This step also helps maintain engine cleanliness and longevity by preventing contaminants from adhering to the surface.
Use a clay bar with lubricant to remove embedded contaminants, smoothing the surface for improved wax bonding.
Wipe down with professional-grade microfiber towels to avoid scratches.
Apply a pre-wax cleanser like P21S Paintwork Cleanser, spraying and wiping small panels to enhance paint gloss and residue removal.
Post-clay bar, rewash and dry using gentle water absorption techniques to prevent streaking.
Finally, condition the surface with a polish to fill micro-scratches, ensuring an even, reflective base ideal for your next wax layer.
Frequently Asked Questions
Can Car Wax Removal Damage My Car’s Paint?
Yes, car wax removal can damage your car’s paint if you use abrasive tools or apply excessive pressure. To avoid harm, you should always remove wax gently with a soft microfiber cloth and mild detailing products designed for paint safety.
Aggressive scrubbing or harsh chemicals can scratch or degrade the clear coat, so maintaining proper technique and regular waxing intervals helps protect your paint’s integrity over time.
How Often Should I Remove and Reapply Car Wax?
When it comes to waxing, you can’t cut corners—remove and reapply every 2 to 3 months for ideal protection. If your car faces harsh elements or heavy use, consider waxing more frequently.
Look for signs like dullness or loss of water beading to time removal accurately. Always wash thoroughly before reapplying to avoid trapping dirt under the new layer, ensuring the wax bonds properly and safeguards your paint effectively.
Is It Safe to Remove Wax in Direct Sunlight?
No, it’s generally not safe to remove wax in direct sunlight. High surface temperatures cause wax to dry too fast, making it stubborn and risking paint damage.
You should avoid peak sunlight and opt for cooler conditions, ideally between 50°F and 80°F.
If you must, work in small sections using lubricants or quick detailers and soft, damp microfiber towels to minimize abrasion and prevent swirl marks or hazing on your paint.
Can I Remove Wax Using Household Products?
Yes, you can remove wax using household products like dish soap and isopropyl alcohol wipes. Start by washing your car thoroughly, then apply these products gently with microfiber cloths in circular motions.
Be cautious; vinegar and strong alcohol may damage paint.
Repeat applications may be necessary for thick wax. Always rinse well and follow up with polishing or conditioning to restore paint smoothness and prepare the surface for new wax.
How Long Does It Take for Wax Removal to Dry Completely?
Think of wax drying like a morning fog settling on your car’s surface. It typically takes 20 to 30 minutes for most waxes to dry sufficiently for removal.
Carnauba waxes might need 15 to 40 minutes depending on quality and conditions.
Use the finger swipe test: when wax leaves a powdery residue without streaking, it’s ready.
Avoid rushing; premature buffing risks smears, while waiting too long makes removal tough.
Protect Your Shine: Next Steps After Wax Removal
Removing car wax might seem tricky, but with the right approach, it’s straightforward. You’ll want to combine chemical products, mechanical techniques, and possibly clay bars to strip wax effectively.
Remember, polishing afterward restores your paint’s smoothness, while post-removal care preserves that finish. Like peeling layers from an onion, each step reveals a cleaner surface beneath.
Follow these precise methods, and your car will shine without residue or damage every time.


