
If you notice wind noise after a windshield replacement, it’s likely due to gaps from misaligned seals, uneven adhesive application, or improperly installed trim that disrupt airflow and compromise the seal.
Check for visible gaps or loose weatherstripping along the windshield edges, especially near the A-pillars and roofline. Using the correct adhesive and ensuring proper curing are key to eliminating leaks and noise.
Exploring common causes and fixes can help restore a quiet, secure cabin environment.
Key Takeaways
- Wind noise after windshield replacement often results from improper adhesive application, misaligned glass, or poorly installed seals and trim.
- Visible gaps, whooshing sounds at speed, and water leaks indicate faulty sealing or installation issues causing wind noise.
- Proper adhesive use and sealant application ensure airtight bonds and reduce vibrations that create wind noise during driving.
- Diagnosing wind noise involves inspecting seals, trim fit, and road testing to locate and address air intrusion points.
- Using correct vehicle-specific trim and maintaining weatherstripping integrity prevents wind noise and ensures long-term cabin quietness.
Common Causes of Wind Noise After Windshield Replacement

When you experience wind noise after a windshield replacement, it often stems from issues like improper adhesive application, seal installation errors, or alignment problems.
If the adhesive isn’t fully removed from the frame or applied unevenly, gaps form, allowing movement and vibration. Improper curing further weakens the bond, increasing noise.
Trim and seal installation errors, such as loose rubber strips or misaligned weatherstripping, create openings for wind to penetrate.
Additionally, if the windshield isn’t aligned flush with the roof or mounting points, larger gaps develop, causing turbulent airflow and high-pitched whistling.
Ensuring thorough adhesive removal, even application, proper curing, tight trim installation, and precise alignment is essential to eliminate wind noise and restore the vehicle’s aerodynamic integrity after replacement.
Proper maintenance and attention to detail during installation are as critical as choosing components with the right balance between filtration efficiency and airflow to ensure overall vehicle performance and comfort.
Identifying Signs of Improper Windshield Installation
Properly addressing wind noise after a windshield replacement starts with recognizing clear signs of faulty installation.
Check for visible gaps or misaligned glass, which indicate inadequate sealing or improper placement. It is important to consider the physical dimensions and fit to ensure proper sealing.
Visible gaps or misaligned glass signal poor sealing or incorrect windshield installation.
Inspect for wavy patterns or blemishes that compromise visibility and suggest poor-quality materials or errors in fitting.
Listen for whooshing, rattling, or clapping sounds at speed; these auditory cues reveal air infiltration through gaps.
Test for water leaks inside the cabin during rain or washing; moisture penetration confirms sealant failure.
Review installation procedures: a single technician, lack of protective gloves, or driving before adhesive curing are red flags. It is also important to ensure that the old adhesive is removed before installing the new windshield to prevent failure.
Also, examine adhesive quality and residue around edges; weak bonding risks windshield detachment.
Identifying these signs promptly ensures corrective action to eliminate wind noise and maintain safety.
How Wind Noise Affects Driving Comfort and Safety?
Although windshield replacement might seem straightforward, overlooking wind noise can considerably undermine your driving experience and safety.
Elevated wind noise increases driver fatigue by causing continuous auditory distraction and masking critical sounds like GPS prompts or emergency sirens. Selecting quality components, such as oils that reduce engine noise, can complement efforts to maintain a quieter cabin through proper maintenance with synthetic engine oils.
Excessive noise raises cognitive load, reducing your attention and reaction times to safety warnings. It also disrupts in-car communication, impairing situational decision-making.
Technically, poor sealing or misfit windshields generate turbulent airflow, elevating noise and vibrations that compromise structural rigidity and occupant protection. Using laminated glass with a plastic interlayer during replacement helps dampen sound waves and reduces these disturbances.
High-frequency wind noise is especially distracting and harder to ignore.
Addressing these issues by ensuring precise windshield installation and using acoustic laminated glass can significantly enhance cabin quietness, improving your comfort, auditory awareness, and overall driving safety.
Typical Areas Where Wind Noise Originates
Since wind noise can emerge from multiple points around the windshield, identifying typical origin areas is essential for effective diagnosis and repair.
Commonly, noise arises at the lower edge where the windshield meets the cowl panel. Gaps, debris, or poorly seated trim here allow air intrusion. This area often requires attention similar to maintaining proper seal integrity in mechanical assemblies.
Wind noise often originates where the windshield meets the cowl panel due to gaps or debris.
The upper edge and roof line also frequently produce noise due to misalignment, degraded weatherstripping, or loose moldings.
Side edges near the A-pillars are vulnerable to incomplete adhesive coverage and vibrating trim. This can result from improper sealing or uncured adhesive that fails to create a tight bond.
Additionally, corners and junction points where multiple panels meet often harbor gaps or uneven adhesive application, creating turbulence.
Finally, loose or misaligned trim and molding around the windshield perimeter can rattle or create gaps.
Pinpointing these areas helps target repairs to restore a proper seal and eliminate wind noise effectively.
The Role of Adhesive and Sealant in Preventing Wind Noise
When you replace a windshield, applying the right adhesive and sealant plays a crucial role in preventing wind noise. It creates a durable, watertight bond between the glass and frame.
Automotive polyurethane adhesive forms strong molecular bonds, ensuring flexibility and UV resistance. It also acts as an acoustic barrier to minimize noise and vibrations. The selection of adhesives with high moisture resistance helps maintain the bond quality over time.
Proper surface preparation and professional application eliminate gaps that cause air seepage and wind intrusion. Using silicone sealants addresses minor misalignments, enhancing the overall seal integrity.
Key factors to prevent wind noise include:
- Molecular bonding for watertight, flexible seals
- Acoustic dampening properties of polyurethane
- UV and temperature resistance for long-term durability
- Precise adhesive application to eliminate gaps
- Professional re-seating to ensure correct windshield alignment
In addition, polyurethane sealants contribute significantly to maintaining structural integrity by preventing water leaks and protecting occupants.
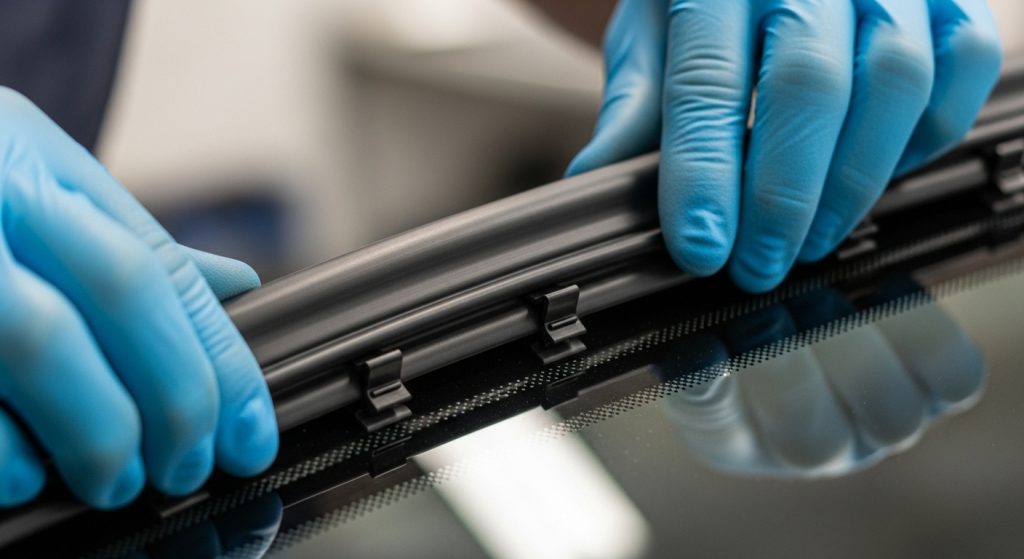
Impact of Trim and Rubber Seals on Wind Noise Reduction
Beyond the adhesive and sealant that bond your windshield, the trim and rubber seals surrounding it play a significant role in reducing wind noise.
Proper installation of tube and flat rubber seals in roof gaps, windshield perimeters, and door cabs creates airtight barriers that prevent air infiltration. Regular inspection and replacement of damaged seals help maintain these barriers and prevent air leaks.
You should apply weatherstripping alongside factory seals to enhance insulation, especially around door lips and B-pillars, ensuring cuts above hinges avoid trapping.
Use silicone sealing on side trim areas after tape testing confirms noise reduction.
High-quality EPDM materials offer durability and maintain snug fits, resisting wear even under highway speeds of 140 km/h. These seals are made from EPDM rubber that resists UV rays and weathering for long-lasting performance.
Validating seal effectiveness through noise cessation tests and multi-day driving assessments ensures a 90-95% wind noise reduction, delivering a near-silent cabin environment post-windshield replacement.
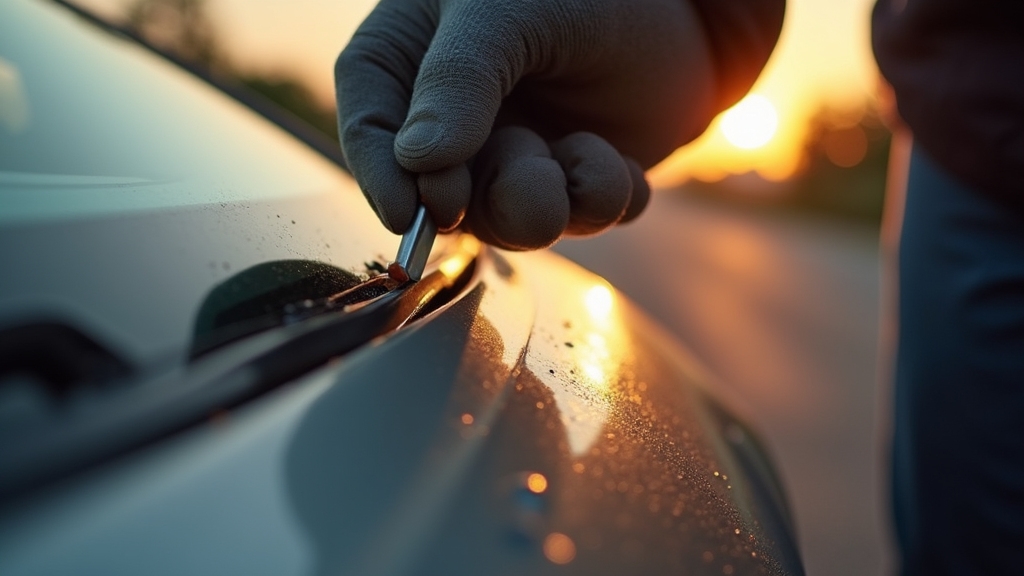
Diagnosing Wind Noise Problems in Newly Replaced Windshields
If you notice unusual wind noise after a windshield replacement, you’ll need to pinpoint the exact source quickly to guarantee a proper fix. Begin by conducting a thorough visual inspection for gaps, seal misalignments, or uneven glass surfaces.
External trim molding that is loose or misaligned is a common cause of wind noise and should be carefully examined during this inspection to eliminate trim issues. Proper maintenance practices are crucial to ensure long-term performance and to prevent early deterioration.
Use temporary tape or sealant to isolate suspected leak points. Listen carefully in a quiet environment with all windows closed to identify specific noise types and locations. Road test at various speeds to determine when and where the noise intensifies.
Inspect perimeter seals for cracks or adhesive faults. Check for air movement or leaks along edges. Identify noise types: whistling, rattling, or static. Using seal conditioners can help maintain seal integrity and reduce noise issues over time.
Verify proper windshield fit and OEM part usage. Allow adhesive curing time before final assessment. This precise diagnosis ensures targeted corrective measures.
Effective Solutions to Eliminate Wind Noise
After identifying the source of wind noise around your replaced windshield, you can apply targeted solutions to eliminate it.
Temporary tape or paper shims help confirm gap locations, while permanent sealants and weatherstripping ensure lasting fixes.
Proper application of silicone or RTV sealant along windshield edges prevents air intrusion and smooths airflow. Ensuring the seals are free from cracks or dryness can greatly improve the overall seal integrity.
Replacing trim and maintaining weatherstripping further reduce noise and improve seal integrity.
It is important to note that wind noise often originates from gaps between the side trim and windshield rather than the windshield seal itself, so focusing on sealing these areas can be more effective.
| Solution Type | Key Action |
|---|---|
| Temporary Sealing | Tape or shims to identify and reduce noise |
| Permanent Sealant | Apply silicone or RTV sealant along gaps |
| Weatherstripping | Replace or lubricate rubber seals |
| Long-Term Maintenance | Regular inspection and protective coatings |
Importance of Professional Installation for Noise-Free Windshields
Since improper installation causes most post-replacement wind noise, ensuring professional installation is essential for a quiet windshield. Certified technicians use calibrated tools and follow OEM standards to guarantee precise fit, proper adhesive application, and correct molding placement.
This approach minimizes gaps and air leaks that generate noise while preserving the windshield’s structural integrity. In fact, studies show that windshield flow separation can create vortex shedding that significantly increases interior noise levels, highlighting the importance of flawless installation to prevent such aerodynamic effects.
Additionally, high-quality materials and proper sealing techniques help maintain corrosion and wear resistance critical for long-term durability.
Key benefits of professional installation include:
Precise adhesive bead size and placement for airtight seals.
Expert assembly of multi-piece molding systems to block airflow.
Even stress distribution preventing vibrations and rattles.
Post-installation diagnostics to detect and fix leaks.
Use of urethane adhesives ensuring durable, flexible bonds.
Trusting professionals reduces your chance of wind noise by addressing root causes with proven technical methods.
Best Practices to Prevent Wind Noise During Windshield Replacement
If you’re looking to prevent wind noise during windshield replacement, there are a few key steps to keep in mind. First off, applying adhesives evenly and sticking to the manufacturer’s specifications is crucial.
This ensures you get a secure seal, which is what you want, right? Checking and replacing worn or damaged rubber seals around the windshield can also greatly reduce wind noise after replacement.
Next, don’t forget about the trim components. Installing new ones helps maintain a proper fit. You really want to avoid any gaps that might let air slip through.
It’s those little details that can make a big difference! Using advanced materials in trim and seals can further improve the durability and fit, minimizing the chances of noise over time.
Finally, take a moment to do a thorough inspection of all the gaps around the windshield. This step is important because it can help you identify and eliminate any potential leak points before you wrap up the job. It’s all about getting it right the first time!
Proper Adhesive Application
When applying adhesive during windshield replacement, you must guarantee the surfaces are meticulously prepared and primers correctly activated to achieve a durable, airtight bond.
Clean the pinchweld thoroughly, removing all old contaminants except a thin urethane film if appropriate.
Apply primer to both glass edges and any bare metal, allowing it to dry fully for at least 10 minutes.
Use a continuous, even bead of adhesive starting from corners to prevent air pockets. It is crucial to apply the adhesive in a smooth, even line, avoiding air bubbles to ensure maximum bonding strength.
Control environmental conditions throughout curing to ensure adhesive consistency and strength.
- Clean and activate substrates for contamination-free bonding
- Retain or fully remove old urethane depending on material type
- Apply single-step primer with proper drying time
- Use continuous, uniform adhesive bead application
- Maintain stable temperature and humidity during curing
Use New Trim
Proper adhesive application sets the foundation for a secure windshield bond, but using new, correctly matched trim plays an essential role in preventing wind noise after installation.
Always select trim designed specifically for your vehicle’s make and model to ensure a precise fit that conforms to windshield contours without gaps.
Avoid reusing damaged or aged trim, as it compromises seal integrity.
Before installation, clean the windshield edge thoroughly and condition the trim with a silicone spray for easier placement.
Install the trim only after the adhesive cures, pressing it firmly into the designated groove without stretching. Positioning the joint in the rubber trim at the bottom middle can help achieve even spacing and a better fit.
Finally, inspect for uniform seating and secure all clips to eliminate potential wind pathways.
Following these steps ensures a tight, noise-free seal that prolongs trim effectiveness.
Thorough Gap Inspection
Although adhesive application and trim installation are critical, thoroughly inspecting gaps throughout the windshield replacement process is essential to prevent wind noise.
You need to identify even minor imperfections that can cause air leaks. Use a systematic approach to verify uniform sealing and ensure full glass-to-frame contact.
Key inspection steps include:
- Visually check the entire perimeter for gaps, uneven adhesive, or misalignment.
- Run your finger along the seal after curing to detect inconsistencies or rough spots.
- Use a flashlight to reveal light leaks indicating air gaps.
- Confirm the windshield sits flush with no visible spacing.
- Perform post-installation tests by listening for wind noise during highway driving.
- Gently tap along the edges to listen for unusual sounds or vibrations, as this test can help detect windshield adhesive issues.
Address any detected issues immediately to secure an airtight, noise-free seal.
Frequently Asked Questions
Can Weather Conditions Influence Wind Noise After Windshield Replacement?
Yes, weather conditions can influence wind noise after your windshield replacement.
Temperature swings affect adhesive curing, causing seal contraction or expansion that leads to gaps.
High humidity slows curing and risks moisture infiltration, compromising seal integrity.
Wind pressure during installation can prevent proper adhesive settling, creating air leaks.
To reduce noise, verify installation occurs in stable, moderate weather.
Allow proper curing time and avoid exposure to extreme elements during and after replacement.
Does Windshield Tinting Affect Wind Noise Levels?
Yes, windshield tinting can reduce wind noise levels by absorbing and dampening sound waves before they enter your vehicle.
Thicker, specialized tint films interrupt high-frequency noise transmission from traffic and wind, creating a quieter cabin.
To maximize noise reduction without compromising visibility or safety, choose professional tinting services that balance film thickness and material composition tailored to your vehicle and driving conditions.
This solution effectively enhances comfort and focus.
How Long After Replacement Can Wind Noise Typically Appear?
You might notice wind noise as soon as your first drive post-replacement or within the first 24 hours.
Sometimes, it takes up to 1–2 days while the adhesive settles in.
In rare cases, it appears after tape removal within a week.
Environmental factors and installation quality influence timing.
To address any noise, monitor your vehicle during this critical window and consult your installer promptly for adjustments or warranty service.
Are There Specific Car Models More Prone to Wind Noise Issues?
Yes, certain car models like Tesla, Jeep Cherokee, and BMW 2-Series are more prone to wind noise after windshield replacement.
Their unique windshield shapes, tight seals, or aerodynamic designs make them sensitive to installation imperfections.
You should guarantee OEM glass and proper adhesive application to minimize noise.
Paying attention to wiper arm positioning and seal curing also helps, especially with vehicles that have precise cabin tolerances or additional components near the windshield.
Can Interior Cabin Modifications Reduce Perceived Wind Noise?
Yes, you can reduce perceived wind noise through interior cabin modifications.
Applying sound deadening mats to doors, headliner, and A-pillars dampens vibrations and blocks noise transmission.
Sealing gaps with closed-cell foam or weather stripping further minimizes airflow intrusion.
Treating 60–70% of the headliner surface noticeably improves noise reduction.
These targeted modifications enhance acoustic comfort and effectively address wind noise without major structural changes.
Don’t Let Wind Noise Win: Seal It Right
Don’t let wind noise turn your drive into a stormy distraction.
By ensuring proper installation, quality adhesive use, and thorough sealing, you can silence that persistent whistle and restore your ride’s harmony.
Think of your windshield as a fortress against the elements. When sealed right, it holds strong.
Trust professionals to safeguard your comfort and safety, so every journey feels smooth, quiet, and secure.
Taking these steps puts you back in control of the road’s soundtrack.


