To get overspray off your car paint, start by washing the vehicle thoroughly to spot rough patches. Use a clay bar with lubricant for light overspray, or isopropyl alcohol for fresh spots, testing on a hidden area first. For stubborn bits, try plastic razor blades or chemical removers like Cital 266, ensuring compatibility. Work in a shaded, ventilated space with gloves and a mask. Stick around to uncover deeper insights on paint protection.
Key Takeaways
- Wash the car thoroughly to remove dirt before addressing overspray.
- Use a clay bar with lubricant to gently lift light overspray from paint.
- Apply isopropyl alcohol on fresh overspray spots for safe removal.
- Test removal methods on a small, hidden area to avoid damage.
- Polish the surface post-removal with a fine compound to restore gloss.
Overspray and Its Causes
While painting a car or nearby surface, you might encounter overspray, which is the unintended application of paint particles onto areas beyond the target zone. This issue often stems from improper spray gun technique, like holding the nozzle at the wrong angle, or maintaining incorrect distance from the surface—too far or too close.
If you don’t mask adjacent areas adequately, overspray can settle there. High or low air pressure disrupts paint distribution, causing bounce-back or uneven application. Environmental factors, such as windy conditions, can also worsen the problem.
Additionally, insufficient preparation of the vehicle or workspace can contribute to overspray settling on unintended surfaces. Regular maintenance of your vehicle, including protecting areas like the cabin air filter, can help prevent contaminants from affecting other components during painting.
You’ll see overspray in auto detailing, home projects, or industrial painting, with materials ranging from oil-based to acrylic paints. Master these causes to minimize overspray risks on your vehicle’s finish.
Essential Tools for Overspray Removal
Having grasped the causes of overspray, let’s focus on equipping yourself with the right tools to tackle it on your car’s paint.
Start with a clay bar and lubricant spray to lift light to moderate overspray safely from the clear coat.
Begin with a clay bar and lubricant spray to safely remove light to moderate overspray from your car’s clear coat.
Grab a plastic razor blade for scraping off larger chunks without scratching, ensuring you apply moderate pressure.
Use overspray removal polishing pads or mitts, like Nanoskin Autoscrub, for mechanical removal on flat panels.
Keep chemical removers, such as Cital 266, handy to dissolve stubborn overspray, but verify compatibility with your paint.
Finally, don’t skip lubricants or surface prep sprays—they’re critical to prevent marring during claying or scraping.
Remember to wash the car thoroughly before starting to remove dirt and grit that could cause scratches during the process.
With these tools, you’re set to address overspray effectively.
Regular maintenance of your vehicle, including keeping filters clean, can indirectly help by ensuring optimal performance and reducing contaminants that might contribute to surface issues like overspray.
Step-by-Step Removal Techniques
As you tackle overspray on your car’s paint, start by carefully evaluating the damage to gauge its severity and spread.
Next, pick the right tools and materials, like clay bars or plastic razor blades, based on the paint type and overspray extent. Consider using products that enhance performance, such as drop-in filters for engine protection during the cleaning process.
Then, apply safe, proven methods with precision to ensure you don’t harm the clear coat while removing the contaminants. Remember, removing contamination early prevents further damage to your vehicle’s finish and maintains its clarity over time.
Assessing Overspray Damage
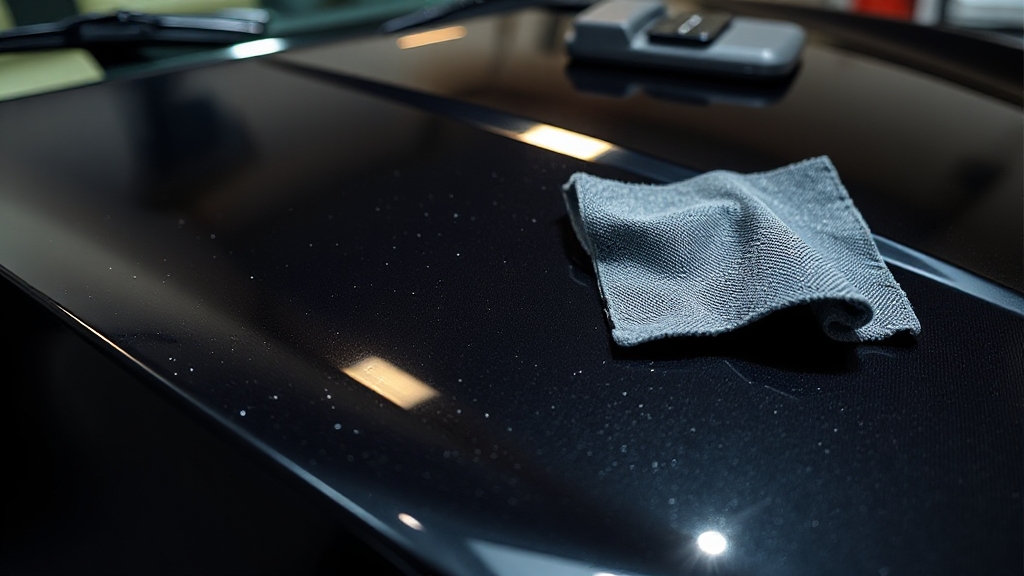
Before tackling overspray on your car’s paint, start by carefully evaluating the extent of the damage. Wash your vehicle thoroughly, then run your hand over the surface to detect rough patches indicating overspray. Pinpoint affected areas, noting whether it’s from nearby painting or construction.
Determine if the overspray feels like oil-based or acrylic paint, as this impacts removal difficulty. Act quickly—don’t let it harden, or it’ll become tougher to remove. Regularly inspect your car to catch overspray early, ensuring you address it before it bonds deeply with the paint. Prompt action is crucial to prevent long-term damage to your vehicle’s clear coat and overall finish.
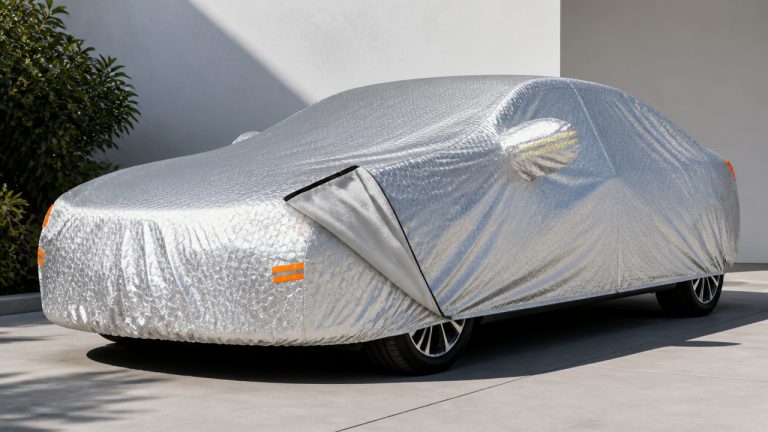
Also, consider past prevention failures, like inadequate masking, to avoid future issues. This precise assessment sets the stage for effective removal without risking damage to your car’s finish. Remember that high-quality protective measures, like using a car cover, can reduce overspray risk by shielding your vehicle during nearby painting or construction activities.
Choosing Removal Tools
When you’re ready to tackle overspray on your car’s paint, selecting the right tools is essential for a safe and effective removal process. Start with clay bars for gently pulling contaminants off paint and glass.
Grab putty scrapers for larger overspray sections on windows, though they’re less ideal for tight spots.
Use isopropyl alcohol as a mild solvent for fresh overspray, applying it with microfiber cloths to avoid damage.
For tougher clear coat issues, consider rotary buffers with wool pads, but exercise caution to prevent harm. Additionally, ensuring optimal tool performance can be akin to using high-quality filters like DNA for better airflow.
Specialized cleaners and nano cloths work well for patchy overspray, while extensive kits like the 3M 08987 handle small areas. Remember that proper lubrication is critical to prevent scratches and ensure tools work effectively.
Always match your tool to the surface and overspray type for best results.
Applying Safe Methods
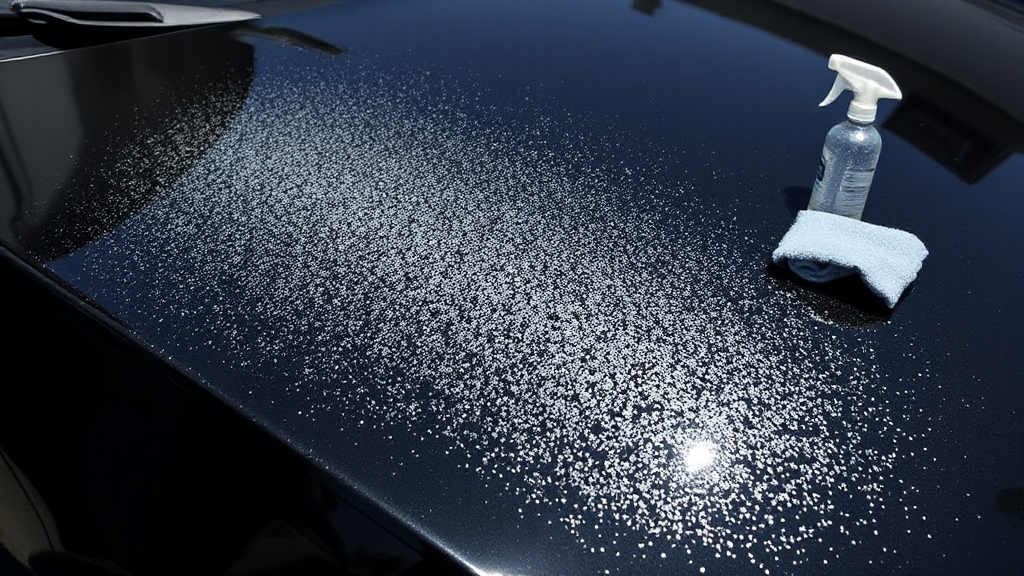
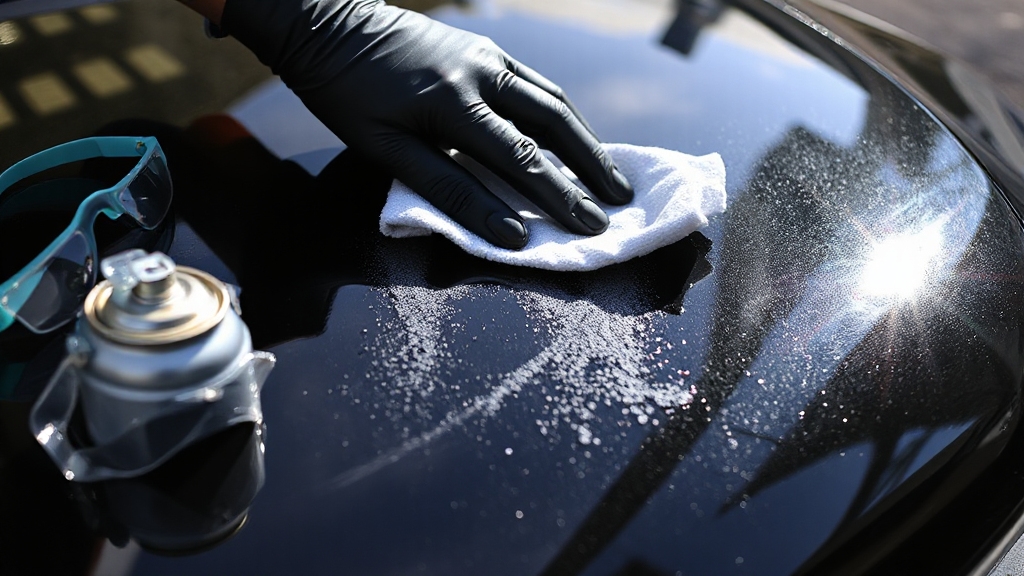
Start the overspray removal process by meticulously preparing your vehicle to guarantee a smooth and safe procedure. Wash and dry it thoroughly, ensure good ventilation, inspect the overspray at a 60° angle, and protect nearby areas with tape. Once prepped, assess the overspray type to choose your method—clay bars for scattered droplets or isopropyl alcohol for fresh spots.
Apply lubricant with a clay bar, rub gently, and wipe with a microfiber cloth. For solvents, test on a small area first, then blot softly. Remember to perform cleaning in shaded areas or during cooler times to avoid heat-related damage to the paint during UAE summers. Additionally, using the right lubricant can enhance the effectiveness of the clay bar method by reducing friction, much like how viscosity affects lubrication in gear oils.
| Method | Best For |
|---|---|
| Clay Bar | Scattered Droplets |
| Isopropyl Alcohol | Fresh Overspray |
| Professional Polish | Fully Cured Layers |
After removal, inspect, polish if needed, and apply wax for protection.
Safety Tips During the Process
As you tackle the task of removing overspray from your car’s paint, prioritize safety to protect both yourself and the vehicle’s finish. Work in a well-ventilated area to avoid inhaling fumes from solvents like isopropyl alcohol. Don’t skip protective gear—wear gloves and a mask to prevent skin and respiratory irritation from chemicals.
Before starting, wash the car thoroughly for a clean surface, and always test any removal method on a small, hidden spot to confirm it’s safe. Use only automotive-specific chemicals to avoid unintended damage.
Remember that immediate action can prevent overspray from bonding to the clear coat, making removal easier and reducing the risk of long-term damage. Additionally, maintaining regular care of your vehicle, much like using quality oil filters, can help ensure lasting protection of its exterior and internal components.
Handle solvents carefully, following safety guidelines, and dispose of waste properly to minimize environmental harm. Stick to local regulations on chemical use, ensuring you’re both safe and compliant during the process.
Protecting Your Vehicle’s Surface
Before you begin any painting project, prioritize protecting your vehicle’s surface to avoid the headache of overspray damage. Start by using high-quality masking films, tapes, and protective covers to shield areas you’re not painting. Guarantee proper ventilation and adjust air pressure to minimize overspray.
Maintain consistent speed and distance while spraying, and always inspect your workspace for potential issues. By fine-tuning atomization settings, you can further reduce overspray effectively. Additionally, consider using products like synthetic oils for maintenance to ensure your vehicle remains in top condition with excellent wear protection.
Check out these key protection strategies:
| Technique | Tool/Material | Benefit |
|---|---|---|
| Masking | High-quality tape/film | Shields unpainted areas |
| Ventilation | Professional systems | Reduces overspray drift |
| Low Pressure | Low-pressure guns | Minimizes overspray |
| Surface Prep | Cleaning materials | Prevents unwanted adhesion |
| Consistent Application | Proper distance/speed | Ensures even coverage |
With these steps, you’ll safeguard your car’s finish effectively.
Aftercare for Restoring Paint Shine
After removing overspray, you’ve gotta focus on polishing your car’s paint to bring back that showroom gloss.
Make sure you’re applying a high-quality protective sealant to shield the finish from environmental damage like UV rays and contaminants.
Stick to a strict routine of paint care by inspecting regularly and using gentle, non-abrasive tools to keep the surface pristine.
Additionally, consider a multi-stage correction process to ensure deeper defects are removed and to enhance the overall gloss.
For added protection, explore using products with high lubricity benefits to reduce wear on the paint surface and maintain its shine over time.
Polishing for Gloss
While restoring your car’s paint after overspray removal, polishing for gloss becomes a critical step to bring back that showroom shine. You’ll need to use a dual-action polisher with finer polishing compounds to eliminate haze, swirls, and light scratches, enhancing clarity and depth.
Make multiple passes to achieve a flawless finish, ensuring you don’t over-polish and damage the paint. Regularly check paint thickness during the process to ensure safe correction. Additionally, always follow manufacturer guidelines for tool use to maintain proper safety protocols during the polishing process.
Here’s a quick reference for polishing essentials:
| Tool/Product | Key Benefit |
|---|---|
| Dual-Action Polisher | Minimizes paint damage, maximizes gloss |
| Fine Polishing Compounds | Removes haze, boosts shine |
| Microfiber/Foam Pads | Ensures even application |
| Gloss Meter | Measures gloss improvement objectively |
| Ultra-Fine Compounds/Glaze | Refines finish, eliminates micro-marring |
Test products on small areas first, and always decontaminate the surface before starting.
Applying Protective Sealant
As you move to the final step of restoring your car’s paint after overspray removal, applying a protective sealant becomes essential to lock in that renewed shine and shield the surface from future damage.
Start by washing and drying your car thoroughly, then optionally use a clay bar to remove residues. Ensure the surface is completely clean and dry to promote optimal adhesion of the sealant for long-lasting protection.
Choose a sealant—synthetic polymer or ceramic—based on durability and protection needs.
Apply a quarter-sized amount to a moistened microfiber or foam applicator, working one panel at a time for uniform coverage.
Let it cure for 3-5 minutes until it hazes.
Buff the haze off with a folded microfiber towel, using clean sides for each pass.
Inspect for imperfections and touch up as needed for a flawless finish.
Routine Paint Care
Keeping your car’s paint in pristine condition after overspray removal demands consistent routine care. You’ve gotta commit to regular maintenance to preserve that shine and protect against damage.
Wash your car every two weeks using car-specific soap and a microfiber towel, always in the shade to avoid streaks. Don’t use abrasive materials or commercial washes for 30-60 days post-paint job. Remember, washing too soon after a paint job can harm the finish if the paint hasn’t fully cured.
For long-term protection, follow these precise steps:
- Waxing: Apply a high-quality wax or sealant after 60-90 days to shield the paint.
- UV Defense: Use UV-resistant products to prevent fading from sun exposure.
- Inspection: Routinely check for wear or rust, addressing issues promptly.
Stay diligent with these practices, and your car’s finish will remain flawless.
Strategies to Prevent Future Overspray
Since overspray can be a persistent issue during painting projects, you’ll want to adopt proactive strategies to minimize its occurrence on your car’s surface. Start by selecting the right nozzle and adjusting your spray gun’s settings for precise control over paint flow and air pressure. Maintain your equipment regularly to guarantee excellent performance.
Prepare your workspace meticulously—use high-quality masking products and protective covers on nearby surfaces. If possible, work in a well-ventilated paint booth to contain overspray. Additionally, fine-tuning your gun parameters, such as fluid volume and pressure, can significantly reduce overspray effectively.
Master your technique by maintaining the correct nozzle angle, distance, and consistent speed while applying thin, overlapping layers. Finally, adjust paint viscosity per manufacturer guidelines and consider additives to improve flow, reducing overspray effectively during your painting tasks.
Frequently Asked Questions
Can Overspray Damage My Car’S Clear Coat?
Hey, you’ve gotta know that overspray can indeed damage your car’s clear coat if you don’t address it promptly. Those stray paint particles can embed into the surface, compromising the protective layer over time.
Depending on the paint type, like tough urethane, the risk increases. If ignored, you’ll see noticeable wear and potential repair costs.
Act fast to prevent long-term harm to your vehicle’s pristine finish.
Is Professional Help Needed for Overspray Removal?
Managing overspray removal is like walking a tightrope—one wrong step can damage your car’s finish. You’ve gotta weigh your options: DIY might save cash, but it’s risky with harsh chemicals or improper techniques that could scratch paint.
Professional help often ensures precision with specialized tools and expertise, minimizing damage. If the overspray’s stubborn or extensive, don’t hesitate—trust pros to restore your vehicle’s shine safely and efficiently.
How Long Does Overspray Removal Usually Take?
Hey, when you’re wondering how long overspray removal usually takes, know that it varies.
For minor cases, you’ll likely spend about an hour tackling the issue.
Extensive overspray on larger vehicles can take several hours to fully address.
Factors like severity and surface type play a big role.
If you’re hiring pros, they’ll speed things up, especially for complex jobs.
Preparation and method choice also impact the total time.
Will Overspray Removal Affect My Car’S Warranty?
Worried that tampering with your car might void its warranty? Don’t stress—let’s tackle this concern head-on. Check your warranty terms first to see if overspray removal’s covered or restricted.
Stick to manufacturer-approved methods and avoid harsh chemicals or untested techniques. If you’re unsure, consult a professional to guarantee compliance.
Keep detailed records of the process; they’ll prove you’ve followed guidelines and protect your warranty status.
Can Overspray Be Removed From Glass Surfaces?
Hey, you can definitely remove overspray from glass surfaces with the right approach. Grab a clay bar and lubricant to gently lift the overspray without scratching.
For tougher spots, use a razor blade with lubricant, ensuring precision to avoid damage. Isopropyl alcohol or glass cleaners with a sponge also work well.
Always test a small area first and handle tools carefully to keep your glass pristine.
Keep That Showroom Shine Going Strong
You’ve now got the know-how to tackle overspray on your car’s paint like a pro wiping grime off a mirror. Don’t let your hard work fade—keep up with regular waxing and use protective covers during nearby spray jobs. Follow these aftercare and prevention tips to maintain that showroom shine. Stay vigilant, and you’ll guarantee your ride’s surface stays pristine, ready to turn heads on every drive.