To reset your Dometic AC unit, first power off the system and verify the thermostat is in OFF mode. Then, simultaneously press and hold the Mode and Zone buttons until the display shows “IniT.” Release the buttons, then press On/Off to exit reset mode. Confirm the reset by checking if all zones display briefly and default icons return. If issues persist or error codes appear, it’s important to troubleshoot further or contact support. More detailed guidance can help you master this process.
Key Takeaways
- Turn off the Dometic AC unit and set the thermostat to OFF before starting the reset process.
- Press and hold the Mode and Zone buttons simultaneously until “IniT” appears on the display.
- Release buttons after “IniT” shows, then press the On/Off button to exit the reset mode.
- Confirm the display shows factory default icons and all zones briefly appear during reset.
- Reconfigure settings as needed and perform regular maintenance after completing the reset.
Preparing Your Dometic AC Unit for Reset
Before resetting your Dometic AC unit, you need to prepare both the electrical system and the physical components carefully to guarantee safety and effectiveness.
First, locate the RV’s circuit breaker box and ensure the AC is turned off. Confirm power is completely disconnected by verifying no current reaches the unit. Wait 2-5 minutes to allow capacitors to discharge before proceeding. This step is important because power fluctuations can cause operational issues that a reset aims to resolve. Understanding the importance of maintenance helps ensure the longevity and proper function of your AC unit.
Use protective gloves and safety glasses when handling electrical components. Inspect the system for refrigerant leaks and ensure the area is well-ventilated and free of sparks or open flames.
Consult your unit’s manual to review any model-specific precautions. By methodically following these steps, you’ll minimize risks and set the stage for a successful reset procedure.
Identifying the Reset Buttons on Your Thermostat
When you need to reset your Dometic AC thermostat, identifying the correct buttons is essential to executing the procedure accurately. Focus on the Mode, Zone, and On/Off buttons, as these are primarily involved in reset functions.
Resetting your Dometic AC thermostat requires using the Mode, Zone, and On/Off buttons correctly.
The Mode button allows you to change operating modes and often initiates the reset sequence. On models like the CCC2, pressing the Mode and Zone buttons simultaneously triggers a reset.
The On/Off button powers the thermostat and can be used for power cycling. Avoid relying on Up/Down or Auto/Manual buttons, as they typically don’t affect reset processes. Proper installation requirements ensure that your device functions correctly after resetting.
Make certain all buttons respond correctly before proceeding. Confirm your specific thermostat model to apply the appropriate button combination for reset without causing configuration errors. Performing the reset when the thermostat is in the OFF position is crucial to ensure the reset procedure works properly.
Step-by-Step Factory Reset Instructions
Although resetting your Dometic AC unit may seem straightforward, following precise steps guarantees the process completes successfully without causing configuration errors. First, ensure the unit is off and the thermostat is in OFF mode. Next, simultaneously press and hold the MODE and ZONE buttons until “IniT” appears on the display.
Release the buttons once the reset activates. Confirm the reset by checking the display indicators, then press ON/OFF to exit setup mode. It is important to note that sometimes resetting the thermostat can temporarily resolve issues like short cycling or inconsistent activation. Regular maintenance is essential to ensure the optimal performance of your AC unit. Finally, turn the unit back on and reconfigure settings as needed.
Model-Specific Reset Procedures for Popular Thermostats
Since different Dometic thermostat models have unique reset requirements, following the specific procedure for your unit guarantees a proper restart and prevents configuration errors. Here’s how to reset popular models methodically:
Different Dometic thermostat models need specific reset steps to ensure a correct restart and avoid errors.
- For the Dometic CCC 2, switch the thermostat OFF, hold MODE and ZONE simultaneously until “IniT” appears, then release and press ON/OFF to exit. Using an inverter with sufficient power capacity ensures the unit receives stable power during reset.
- For general models, power off, remove the thermostat from its base, disconnect power wires, wait a few minutes, then reconnect and reinstall. It is important to identify and note wire colors before disconnecting to ensure correct reconnection.
- The Single Zone thermostat requires full power disconnection by removing wiring, waiting, then reconnecting and remounting. Maintaining proper battery voltage is crucial during this process to avoid system errors.
- Some models reset by pressing “Mode” and “Temp Up” together—always verify via the user manual before proceeding.
Following these precise steps ensures a reliable reset tailored to your thermostat.
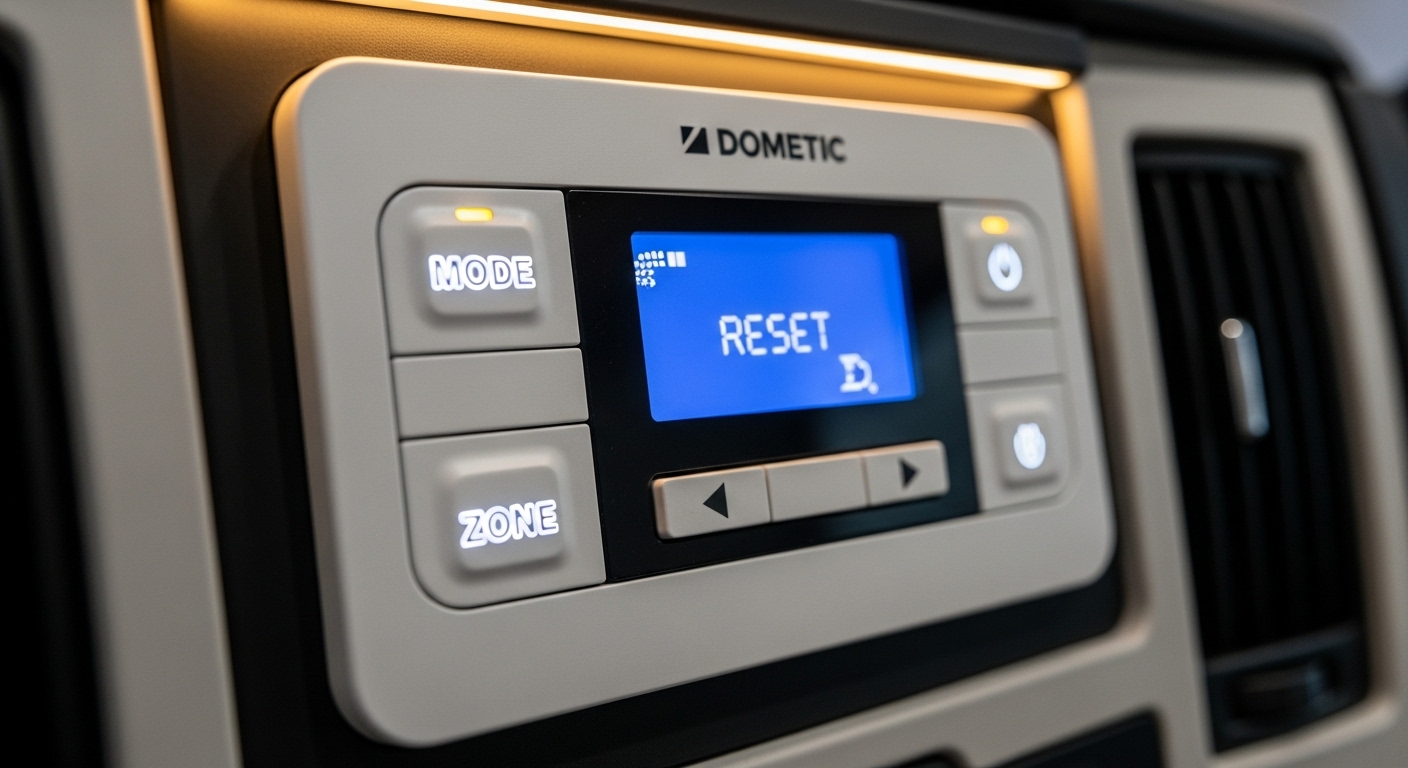
Recognizing Reset Confirmation on the Display
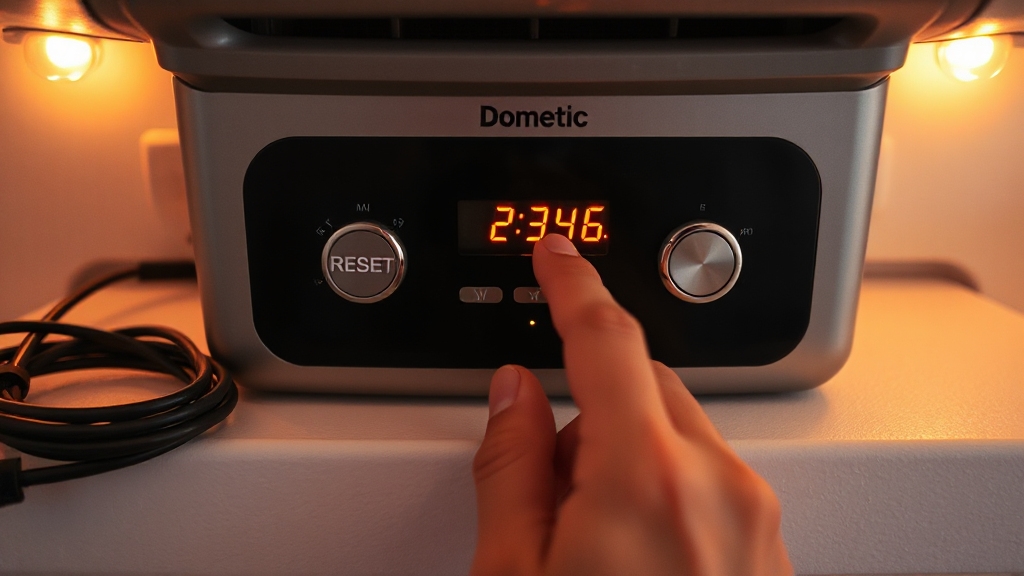
When you initiate the reset, the LCD will display the symbol “IniT” to confirm the process has started.
You’ll see all available zones briefly appear as the system recognizes configuration settings. Maintaining steady pressure is crucial in HVAC systems to ensure optimal performance.
It is important to ensure the thermostat is powered down completely before starting the reset to avoid errors during the process. CCC2 thermostat powered down
The reset completes once the display exits setup mode, signaling the restoration of factory defaults.
Reset Indicator Symbols
A clear understanding of reset indicator symbols is essential for confirming that your Dometic AC unit has successfully completed the reset process. After a reset, the display uses specific symbols and patterns to communicate status clearly.
- All LEDs briefly illuminate or display “888” during startup, indicating a successful power-on reset.
- The LCD may show “IniT” and list available zones, signaling initialization on CCC2 thermostats.
- Factory default icons reappear, reflecting cleared settings and a fresh start.
- Mode and function symbols refresh to default states, with temperature units and blower levels updating accordingly.
- Regular maintenance, similar to recommended oil change intervals for high-performance vehicles, ensures optimal functioning and longevity of your AC unit.
Display Confirmation Timing
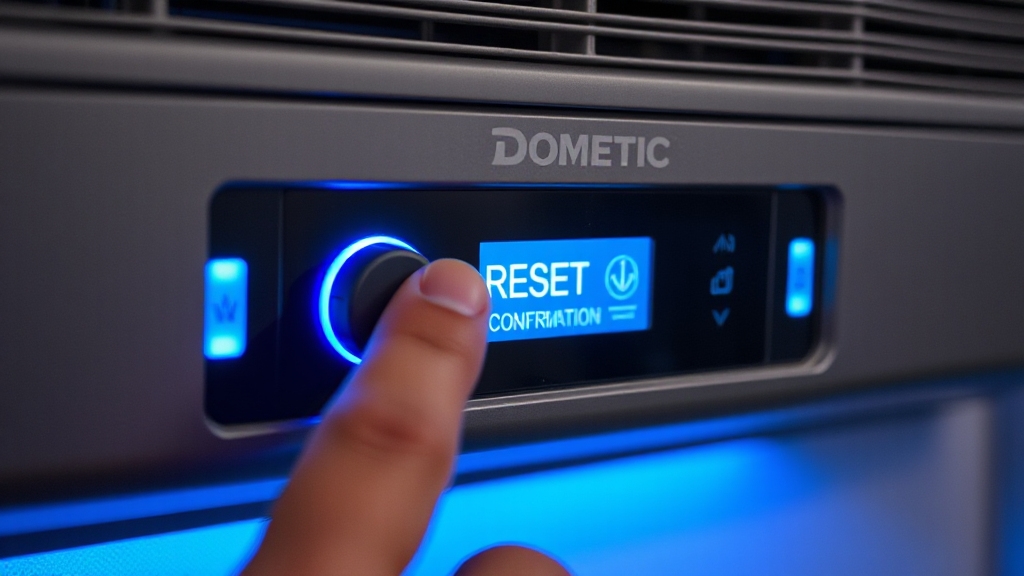
Understanding the reset indicator symbols sets the stage for recognizing how your Dometic AC unit confirms a reset on its display.
When you press and hold the MODE and ZONE buttons simultaneously, the LCD immediately shows “IniT” alongside the active zone list. This visual confirmation appears instantly, with no delay specified in the manual.
Release the buttons after seeing “IniT” and the zone information; the display remains active, awaiting your next action. Properly interpreting these signals is crucial, much like evaluating filtration efficiency is essential for optimizing air intake systems.
The reset status is confirmed solely through this clear visual feedback—no audible tones or additional messages accompany it. Most ACs feature a small, red reset button, typically located on or around the unit, which is designed for easy identification and use during reset procedures reset button.
The display stays focused on the reset state until you press the ON/OFF button to exit. Note that the system doesn’t auto-timeout; you control when to proceed after verifying the reset confirmation on screen.
Troubleshooting Common Issues After Reset
After resetting your Dometic AC unit, start by verifying power cycling to guarantee the control board has fully reset. Understanding the role of refrigerants like Freon can help optimize your AC’s cooling efficiency.
Next, check zone accessibility to confirm the thermostat communicates correctly with each zone.
Finally, identify any error codes displayed to pinpoint specific faults requiring further attention. Be sure to inspect wiring connections and look for any signs of corrosion or moisture that could disrupt communication.
Power Cycling Checks
How do you verify that your Dometic AC unit is functioning correctly after a reset? Begin by performing systematic power cycling checks to confirm proper operation. Follow these steps:
- Confirm the unit cools efficiently and maintains the set temperature without short cycling. It is important to check for signs of a frozen evaporator coil, which can cause the system to short cycle.
- Listen for abnormal noises that could indicate mechanical or electrical faults. Additionally, ensure that the system is free of any plumbing moisture that might affect its components, as moisture retention can cause damage over time.
- Inspect airflow through vents to ensure it’s strong and consistent.
- Monitor power consumption to verify it stays within the manufacturer’s specified range.
If you detect irregularities in any of these areas, re-examine installation, thermostat settings, and wiring. Regular power cycling helps prevent persistent issues but always prioritize safety and consult the user manual for model-specific instructions.
This methodical approach guarantees your Dometic AC performs excellently after a reset.
Zone Accessibility Verification
Confirming proper power cycling guarantees your Dometic AC unit is responsive, but verifying zone accessibility is the next step to guarantee accurate climate control.
First, ensure the thermostat is set to the correct zone—Zone 1 for front or Zone 2 for the living area.
Check the thermostat sensor for Zone 1 or the remote sensor connected to the AC unit’s upper board for Zone 2.
Confirm all sensor connections are secure and intact, as damaged wiring or faulty sensors cause incorrect readings. Additionally, loose or improperly connected cables are a common cause of flashing zones and should be inspected carefully.
Use the thermostat’s Mode and Zone buttons to toggle zones, observing the display for accurate temperature and zone identification. This helps maintain optimal system performance by ensuring the unit responds correctly to each zone’s conditions.
If the display is blank or unresponsive, verify all power and communication connections.
Proper zone verification ensures each area receives appropriate cooling or heating after reset.
Error Code Identification
When your Dometic AC unit displays error codes following a reset, identifying these codes accurately is essential for effective troubleshooting. Each code directs you to specific issues requiring targeted actions. Here’s how you can proceed:
- E1 Error: Check thermostat-module communication; inspect connections and data cables for damage or looseness.
- E2/E3 Errors: Examine indoor temperature sensor for open circuits or shorts; replace if faulty.
- E4 Error: Verify outdoor temperature sensor integrity; an open circuit disables heat pump functions.
- E7 Error: Confirm stable 120 VAC power supply to module boards; restore power and reset system. It is also important to physically inspect the wiring connections inside the unit, as loose connections are a common cause of persistent errors.
Typical Causes for Needing a Reset
Although Dometic AC units are designed for reliable operation, several common issues can trigger the need for a reset. Thermostat malfunctions—such as incorrect temperature readings, unresponsive buttons, or error codes—often require recalibration through a reset.
Electrical disturbances like power outages, voltage fluctuations, or tripped breakers disrupt normal function and necessitate restarting the system. Performing a basic manual reset by turning off power, waiting a few minutes, then turning it back on often resolves these issues.
Operational glitches, including erratic cycling, failure to start, or loss of remote communication, also call for resets to restore stability.
Wiring problems, such as loose connections, corrosion, or pinched wires, interrupt signals and demand resets after repair.
Additionally, environmental factors like debris buildup, blocked airflow, moisture intrusion, or post-maintenance residual errors can cause temporary lockups, making resets essential to resume efficient operation.
Safety Precautions During the Reset Process
Before you begin resetting your Dometic AC unit, it’s essential to prioritize safety by disconnecting all power sources, including unplugging the RV from shore power and switching off the corresponding circuit breaker. This prevents electrical hazards and protects both you and the unit.
Follow these key safety precautions during the reset process:
- Use insulated tools to avoid electrical shock when handling components.
- Ensure the workspace and unit are completely dry to prevent moisture-related accidents.
- Confirm proper grounding of the AC unit to avoid electrical faults.
- Refer strictly to the user manual for any model-specific safety instructions before proceeding.
- Powering off the AC at the circuit breaker also helps to ensure safety and prevent cycling during the reset.
Adhering to these steps ensures a safe and effective reset without risking damage or injury.
When to Contact Dometic Support After Reset Attempts?
If your Dometic AC unit continues to exhibit issues despite following all reset procedures, it’s essential to contact Dometic Support promptly. Persistent error codes, failure to power on, or thermostat malfunctions signal problems beyond simple resets.
Additionally, if the unit shows signs of electrical faults, visible damage, or cooling failure, professional assistance is required. In some cases, a frozen AC unit may not respond to reset attempts and needs expert attention. Contact support when your issue involves complex diagnostics, model-specific faults, warranty claims, or requires technical documentation.
| When to Contact Support | Indicators for Action |
|---|---|
| Failure to reset | Unit won’t reset after manual or factory reset |
| Persistent error codes | Error codes remain after reset |
| Functional problems post-reset | New or ongoing issues after resetting |
| Warranty and repair inquiries | Unit under warranty needing repair or replacement |
Frequently Asked Questions
Can a Reset Erase My Customized Temperature Settings Permanently?
You generally won’t lose your customized temperature settings permanently when you reset your Dometic AC unit, as these settings are stored in memory. However, some complex or full firmware resets might erase them depending on your model.
If you perform the reset incorrectly, it could also cause loss. Always follow the specific reset instructions for your model, and if settings get erased, you can typically reprogram them without issue.
How Often Should I Perform a Factory Reset on My Dometic AC Unit?
Oh sure, reset your Dometic AC every hour like clockwork—because who doesn’t love losing all settings repeatedly?
In reality, you should only perform a factory reset when facing persistent errors, control panel glitches, or after firmware updates.
Regular maintenance and software updates minimize resets.
Always consult your manual first, and don’t reset out of habit; it’s a troubleshooting tool, not routine upkeep.
Use resets sparingly to avoid unnecessary disruptions.
Will a Reset Affect My Rv’S Electrical System or Battery Life?
Resetting your Dometic AC unit won’t affect your RV’s electrical system or battery life considerably. When you cycle power via the thermostat or circuit breaker, it only interrupts the AC circuit, leaving other systems untouched.
Battery draw during resets is negligible, especially if using shore power or a generator. The process is low-risk and manufacturer-approved, posing no threat to your battery health or causing electrical malfunctions in unrelated RV components.
Are There Any Indicators Before a Reset That Warn of Control Failure?
Before control failure sneaks up like a shadow at dusk, you’ll notice warning signs. Your thermostat might act like a confused compass, showing erratic or frozen temperatures. The unit may refuse to power on or cycle unpredictably.
Erratic fan or compressor behavior, blinking or frozen indicator lights, and strange sounds like buzzing or clicking all signal trouble. Spotting these early helps you act methodically before a full reset becomes necessary.
Can I Reset the AC Unit Remotely via an App or Smart Control?
You can’t reset your Dometic AC unit remotely via an app or smart control because these units lack Wi-Fi or Bluetooth connectivity.
The remote control only adjusts basic settings like temperature and mode but doesn’t support resetting.
To reset the unit, you must manually interact with the thermostat or control panel.
No smartphone app or smart home integration exists for remote resets or updates on Dometic AC systems.
Reset Complete? What to Watch for Next
Now that you’ve followed each precise step to reset your Dometic AC unit, don’t rush to assume the job’s done. Watch closely for the reset confirmation on your display—it’s your key signal. If problems persist, it’s time to dig deeper or reach out to Dometic support. Remember, a reset isn’t always the final fix; sometimes, the real challenge is just beginning. Stay methodical, and you’ll find the solution.