To take off a transmission fluid cap, first park your vehicle on level ground and engage the parking brake for safety. Locate the cap near the transmission, often marked by a yellow or orange handle—check your manual for specifics. For twist-off caps, grip with a cloth and turn counterclockwise; for push-lock or clipped ones, use a flathead screwdriver to release the mechanism. Stick around to uncover detailed tips and tricks for stubborn caps.
Key Takeaways
- Park the vehicle on level ground and engage the parking brake for safety.
- Locate the transmission fluid cap using the vehicle owner’s manual.
- Inspect the cap for damage or corrosion before attempting removal.
- Use a cloth or rubber grip for traction on twist-off caps.
- Apply penetrating oil if the cap is stuck, then twist gently.
Transmission Fluid Cap Designs
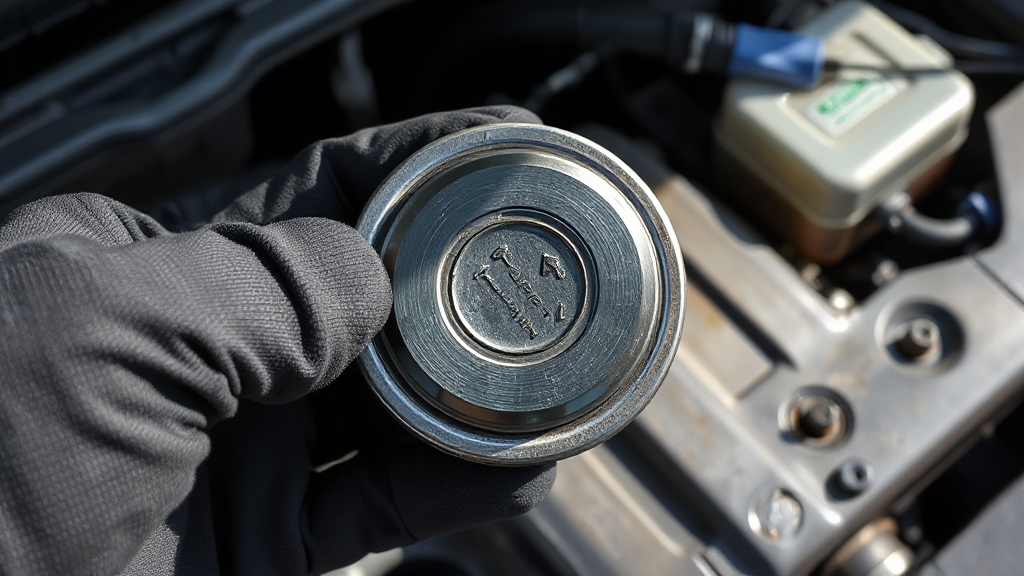
Ever wondered what makes a transmission fluid cap more than just a simple cover? You’re dealing with a critical component that seals the transmission fluid reservoir, preventing spills and keeping out debris. These caps, made from materials like rubber, steel, or high-grade 6061-T6 aluminum, ensure durability under heat and moisture.
Curious why a transmission fluid cap matters? It’s a vital seal, preventing spills and debris while enduring heat and moisture with durable materials.
You’ll find snap-fit designs for secure attachment and leak-proof construction to protect the system. Many match original equipment specs for compatibility across vehicles, from cars to industrial gear. For instance, ACDelco offers transmission fluid caps with warranties ranging from one to two years.
Notice the variety—some sport rust-resistant finishes or custom billet technology with engraved, stylish appearances. Brands like Dorman and Crown Automotive offer options in black or silver. Just as engine oil quality impacts performance, choosing the right cap material can affect durability under extreme conditions.
Understand these designs, and you’ll appreciate their role in maintaining your transmission’s integrity.
Gathering Necessary Tools and Safety Gear
Before you start working on removing the transmission fluid cap, make sure you’ve got the right tools like a specialized wrench or CVT tool for your vehicle model.
Don’t skimp on protective gear—grab gloves and safety glasses to shield yourself from spills or splashes.
Set up your workspace with jack stands and non-slip mats to make certain of a secure, hazard-free environment. Keeping a clean workspace also helps in maintaining engine component health by preventing contaminants from entering critical areas.
Additionally, consider having a small flathead screwdriver handy to help disengage any tricky plastic tabs or clips plastic tabs or clips that might secure the cap in tight spaces.
Essential Tool Selection
When preparing to remove a transmission fluid cap, you’ll need to gather the right tools and safety gear to guarantee a smooth and damage-free process. Confirm you’ve got the correct equipment for your vehicle model by consulting service manuals or bulletins.
Focus on quality tools made of durable metal or plastic to prevent cap damage, and prioritize ergonomic, anti-corrosive designs for ease and longevity. For specific vehicles like Nissan CVTs, ensure you have tools designed for their unique components like charge pipe caps. Additionally, consider the importance of regular maintenance for components like air filters to ensure overall vehicle performance, similar to how K&N filters enhance airflow and filtration efficiency.
Check out these must-have tools for the job:
- NI-52611 Charge Pipe Cap Release Tool – Essential for Nissan CVT service, priced at $33.71.
- 90-Degree Needle Nose Pliers – Perfect for gripping caps in tight spots.
- Torque Wrench – Ensures precise reinstallation if required.
Organize your tools in designated drawers for quick access during maintenance.
Protective Gear Importance
Having the right tools ready is only part of the job when removing a transmission fluid cap; protecting yourself with proper gear is just as essential. Before you start, slip on a sturdy pair of gloves to shield your hands from harsh chemicals and sharp edges. Don’t skip safety glasses—they’re critical to guard your eyes against unexpected fluid splashes.
Make sure you’ve got proper footwear to prevent slipping on slick surfaces. Avoid wearing jewelry that could snag on components, posing a risk. With fumes a potential hazard, ensure you’re working in a well-ventilated area to avoid inhalation. Additionally, consider the environmental impact of fluid disposal to ensure safe handling practices.
Remember to exercise caution to prevent damage to vehicle components during the process.
Prioritize this gear; it’s your first line of defense against injury while handling transmission fluid tasks with precision and care.
Workspace Safety Setup
As you gear up to remove the transmission fluid cap, start by meticulously preparing your workspace to guarantee safety and efficiency. Park your vehicle on a level, well-lit surface, clear debris, and let the engine cool if it’s been running.
Gather tools like wrenches, pliers, a rubber strap wrench, and a flashlight for tight spots. Don’t forget safety gear—wear gloves, keep a fire extinguisher nearby, and disconnect the battery if near electrical components. Given the challenges with transmission fill cap removal, be prepared for significant force needed to release the cap if it’s secured by a catch mechanism. Remember that proper maintenance, like ensuring adequate airflow protection, can prevent contaminants from affecting transmission components during this process.
Key prep steps to nail this task:
- Locate the cap: Identify its position using your vehicle manual.
- Secure tools: Store them safely to avoid injury.
- Ready materials: Have a drain pan and manufacturer-recommended fluid on hand.
Stay precise, and you’ll handle this with ease.
Preparing the Vehicle for Safe Access
Before you start, make sure you’ve parked your vehicle on a level surface to avoid any fluid spills or uneven settling while removing the transmission fluid cap.
Secure the vehicle further by engaging the parking brake and placing jack stands under the frame for added stability, especially if you’re working underneath.
This setup guarantees you’ve got a safe, steady base to tackle the task without risking movement or injury.
Additionally, ensure that the transmission fluid cap is accessible and free from debris to prevent contamination during removal, as the cap’s securing clip can sometimes be fragile and require careful handling.
Remember, using the right type of oil, like high mileage oil, can also contribute to maintaining the health of your transmission system over time.
Park on Level Ground
When preparing to access your vehicle’s transmission fluid cap, make certain you park on level ground to maintain safety and stability. Uneven surfaces can cause accidents, posing risks to you and your car. A firm, level spot ensures your vehicle won’t shift unexpectedly while you work, reducing tripping hazards and potential damage.
Here’s why parking on level ground matters:
- Prevents Rollovers: Avoid sideways parking on slopes to eliminate rollover risks.
- Ensures Stability: Firm ground keeps your vehicle steady during maintenance.
- Reduces Liability: Proper parking minimizes accident risks and legal issues.
Check the area for clear markings and good lighting to enhance visibility. Don’t overlook weather or ground conditions—choose a safe, compliant spot before starting.
Additionally, parking on level ground helps ensure accurate fluid level readings, as an uneven surface can skew measurements and affect maintenance precision (accurate fluid readings). Ensuring stability also aligns with best practices for vehicle maintenance, similar to how proper surface preparation is crucial for tasks like applying car window tints.
Secure With Jack Stands
After parking on level ground, make sure to secure your vehicle with jack stands to safely access the transmission fluid cap. Don’t rely solely on a jack; they can fail. Use stands rated for your vehicle’s weight, positioning them at designated chassis points per your owner’s manual. Confirm they’re on a level plane to avoid tilting, and double-check stability by gently rocking the vehicle.
Engage the parking brake, set the transmission to park or gear, and chock wheels for added security. Wear gloves and goggles, keep a fire extinguisher handy, and clear the work area of hazards.
Periodically inspect stands for slippage, and never allow untrained personnel nearby. Additionally, ensure that your vehicle’s engine is protected with the appropriate oil, such as Mobil 1 Truck & SUV, for optimal performance under heavy loads or extreme conditions.
Lower the vehicle only when work’s complete and the area’s clear.
Locating and Assessing the Cap Position
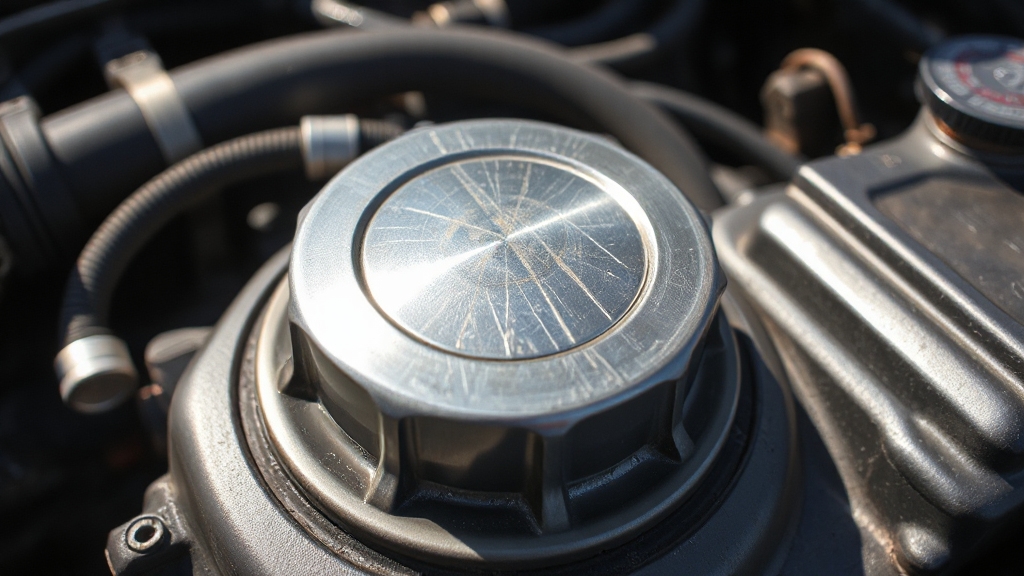
As you begin the process of checking your transmission fluid, start by locating the transmission fluid cap, which is typically positioned near where the transmission connects to the rear of the engine, close to the oil dipstick. Look for a yellow or orange handle to spot it easily, though designs vary by model.
Always consult your vehicle’s owner’s manual for the exact location. Ensure the vehicle is parked on a level surface to guarantee an accurate fluid reading. Additionally, regular maintenance, including the use of a quality oil filter brand, can help ensure the longevity of your transmission system.
Before evaluating, guarantee safety and accuracy with these critical steps:
- Engage the Parking Brake: Secure your vehicle by engaging the brake before starting the engine.
- Idle in Park: Let the engine idle with the gear selector in park for a precise fluid level check.
- Check Fluid Temperature: Note that fluid temperature impacts readings; a scan tool might be necessary.
Removing a Twist-Off Style Cap
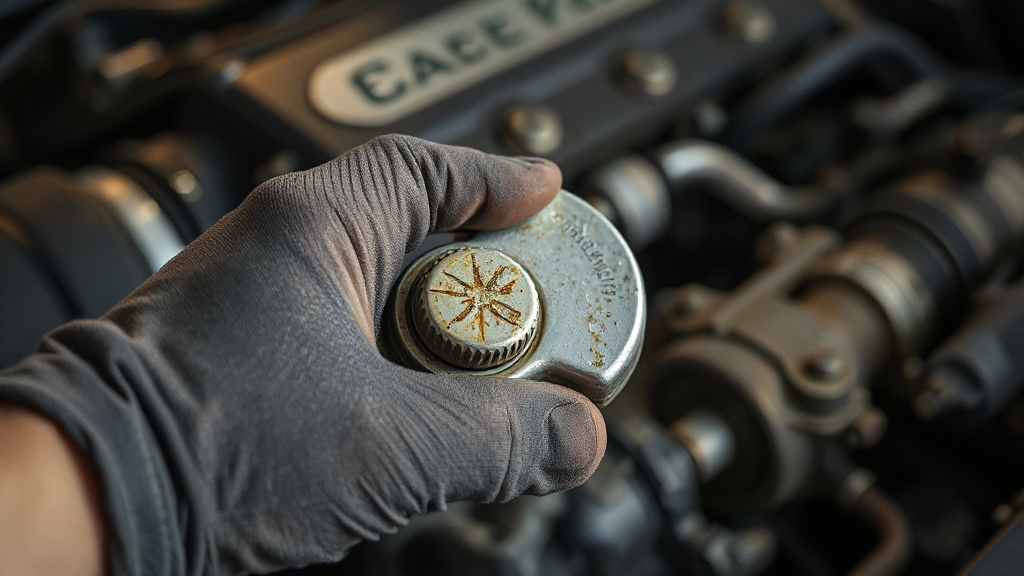
Before tackling the removal of a twist-off style transmission fluid cap, make sure your vehicle is securely parked with the engine idling in park. You’ll need to inspect the cap for corrosion or damage first. Use a cloth or rubber grip for better traction on smooth surfaces. If it’s stuck, apply penetrating oil and twist gently with a strap wrench for even pressure.
Be cautious, as older caps may become brittle over time and risk breaking apart under excessive force. Regular maintenance of vehicle components, like using a quality oil filter, can prevent related issues with fluid systems.
Check out common tools and issues below:
| Tool | Use Case |
|---|---|
| Rubberized Grip | Improves traction on cap |
| Strap Wrench | Helps with stuck caps |
| Penetrating Oil | Loosens corroded caps |
Don’t over-tighten during reinstallation to avoid stripping threads. Clean the area, apply steady torque, and ensure a secure fit to prevent leaks.
Handling Push-Lock or Clipped Cap Mechanisms
When tackling the removal of push-lock or clipped cap mechanisms on your vehicle’s transmission, you’ll need to identify the specific type first. Push-lock caps, common in models like the Infiniti QX60, often require a flathead screwdriver inserted into a square hole to release the hidden catch.
Clipped caps, found in Nissan Versa CVT transmissions, need you to pry a plastic tab from a metal bracket using a long screwdriver. Precision is key to avoid damage. Understanding the mechanism, such as pushing a metal tab inward with a screwdriver to release it, is crucial for a successful removal.
Check these critical steps to master the process:
- Confirm the Mechanism: Verify if it’s push-lock or clipped by inspecting the cap area.
- Gather Tools: Grab a flathead screwdriver suited for the job.
- Work Carefully: Apply steady, controlled pressure to release the cap.
Addressing Common Removal Challenges
While tackling the removal of a transmission fluid cap, you’ll likely encounter challenges like stuck or stubborn caps that refuse to budge. Don’t worry; with the right approach, you can overcome these issues.
Start by applying a suitable lubricant to the cap threads or O-ring to reduce friction, avoiding WD-40 to prevent contamination. Use gentle force or a rubber band wrench for extra grip. If needed, apply heat to expand the metal and loosen the cap. Remember, confirming the cap type before attempting removal is crucial to avoid damage.
Here’s a quick reference for common challenges and solutions:
| Challenge | Solution |
|---|---|
| Stuck Cap | Use lubricant on threads |
| Slippery Grip | Employ rubber band wrench |
| Tight Fit | Apply gentle, consistent force |
| Metal Binding | Use heat to expand cap |
Frequently Asked Questions
Why Does Transmission Fluid Need Regular Checking?
Hey, ever wonder what keeps your vehicle’s transmission running smoothly? You’ve gotta check that transmission fluid regularly! It’s the lifeblood of your system, lubricating parts, cooling heat, and ensuring hydraulic pressure for seamless gear shifts.
If you don’t, slipping gears or overheating could sneak up. Trust me, monitor it to avoid breakdowns, extend lifespan, and save on repairs. Keep it clean, and you’re driving worry-free every mile!
How Often Should Transmission Fluid Be Replaced?
Hey, you’ve gotta keep tabs on how often you replace your transmission fluid to guarantee peak performance. For automatic transmissions, aim for every 60,000 to 100,000 miles, while manual ones need it every 30,000 to 60,000 miles.
If you’re towing heavy loads or driving in tough conditions, do it sooner. Check your vehicle’s manual for OEM specs, and don’t skip this—neglecting it can lead to costly repairs!
What Are Signs of Low Transmission Fluid?
Hey, if you’re wondering about signs of low transmission fluid, pay attention to your vehicle. Notice overheating, a burning smell, or smoke near the transmission? That’s a red flag.
You’ll feel slipping gears, delays in shifting, or grinding noises. Watch for leaks under your car, a lit check engine light, or fluid below the minimum on the dipstick.
Don’t ignore shaking, high RPMs, or erratic shifts—these scream low fluid!
Can I Use Any Type of Transmission Fluid?
Picture two bottles of transmission fluid on your workbench—one red ATF, the other a thick manual gear oil—staring back as if daring you to choose wrong. Don’t just grab any type; you can’t use them interchangeably.
Stick to your vehicle’s specs, whether it’s ATF, manual, or CVT fluid. Check your owner’s manual for the exact type.
Using the wrong fluid’ll damage your transmission, so don’t risk it.
What Happens if Transmission Fluid Overheats?
Hey, if your transmission fluid overheats, you’re in for serious trouble. It breaks down, losing its ability to lubricate, and forms varnish on parts above 240°F. You’ll notice slipping gears, delayed shifts, and strange noises like grinding.
Seals harden, clutches burn out, and wear accelerates on gears. Keep driving, and you’re risking total failure—overheating causes up to 90% of breakdowns.
Monitor temps and maintain fluid levels to avoid this mess.
From Cap to Confidence—You’ve Got This
You’ve tackled the transmission fluid cap like Odysseus outsmarting the Cyclops, with cunning and grit. Now, double-check your work—ensure the cap’s secure if replaced, or safely stored if removed. Clean up any spills, stow your tools, and pat yourself on the back. You’ve navigated this mechanical maze with precision. Keep your ride running smooth, and don’t shy away from the next challenge under the hood. Victory’s yours, gearhead.