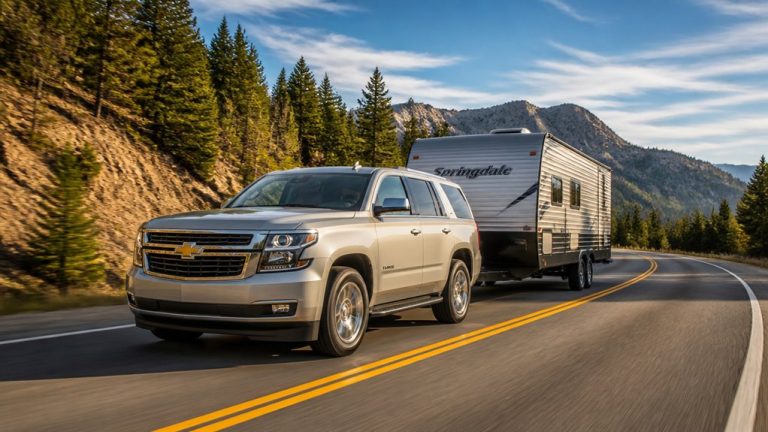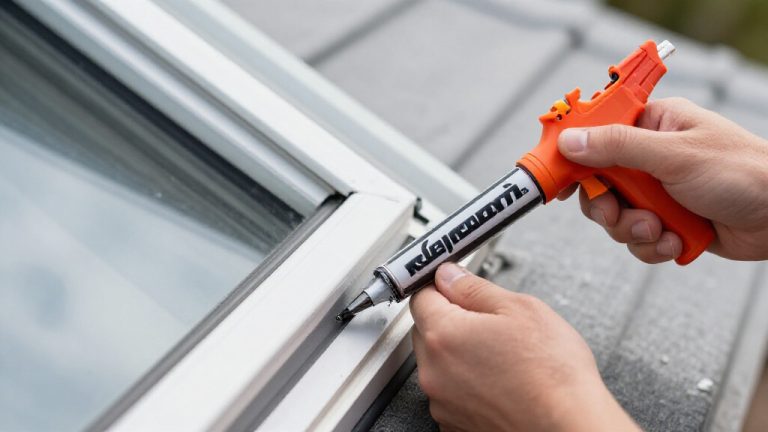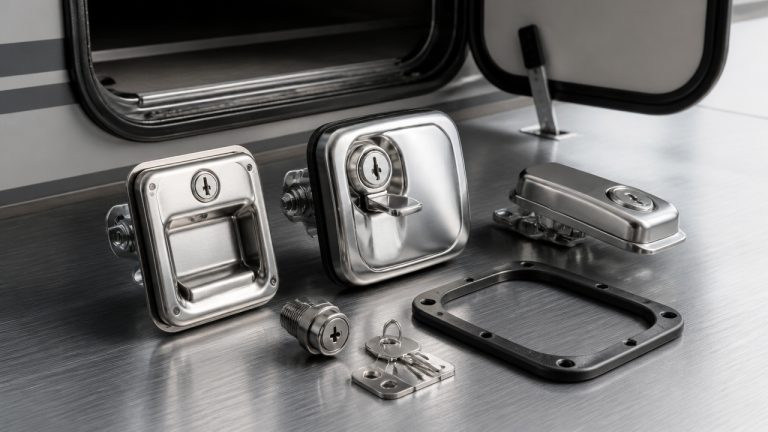
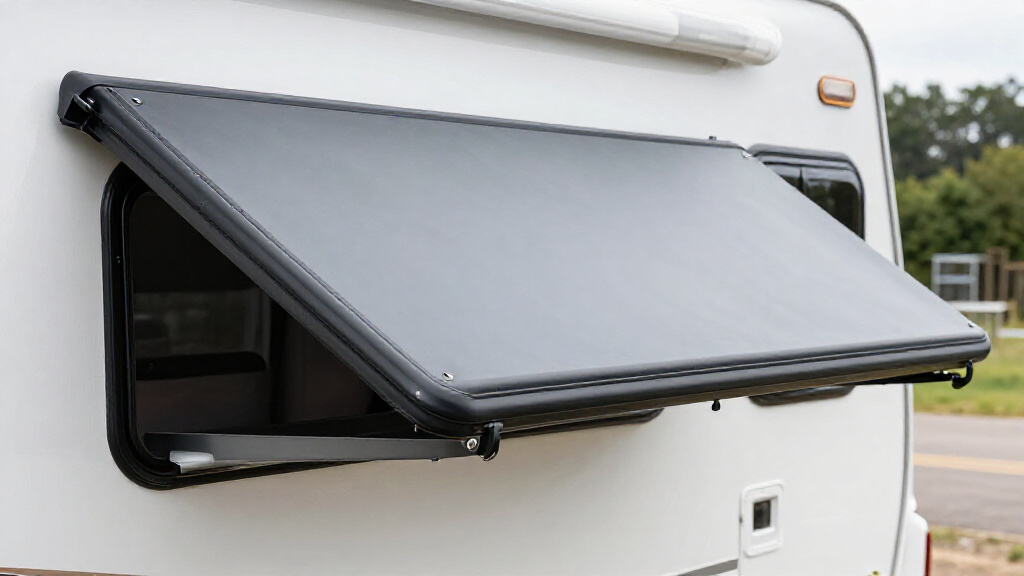
To install your RV slide topper, first find a flat, sturdy spot 3–6 inches above the slide room’s upper edge, ensuring it’s parallel to the floor.
Measure flange-to-flange width carefully, adding extra clearance for proper fit.
Mount the rail securely with butyl tape and self-tapping screws.
Then assemble and feed the fabric onto the roller, adjusting spring tension for smooth operation.
Test and seal all points well to prevent leaks.
Keep following for detailed steps and expert tips.
Key Takeaways
- Mount the awning rail on a flat, solid surface 3–6 inches above the slide room’s upper edge for proper alignment and support.
- Measure flange-to-flange width accurately, adding 1/4 to 1/2 inch for fabric tension and hardware clearance.
- Seal mounting points with butyl tape before drilling and use high-quality sealant around screws and brackets to prevent leaks.
- Assemble the roller tube and feed fabric into the rail, centering it before locking the roller into place.
- Test slide topper operation by extending and retracting it several times, adjusting spring tension and checking for fabric alignment.
Picking the Best Spot for Your RV Slide Topper Rail

Choosing the right location for your RV slide topper rail is vital to guarantee proper coverage and smooth operation.
Selecting the ideal spot for your RV slide topper rail ensures optimal coverage and seamless functionality.
You need to mount the awning rail on a flat, structurally sound surface above the slide room, typically 3 to 6 inches above its upper edge.
Make certain the surface is straight and parallel to the RV floor to prevent misalignment.
Before installation, check for any existing flashing or drip shields that might interfere; you may have to remove these to allow a flush, secure fit.
Positioning the rail too low or unevenly will impair the fabric’s coverage and cause operational issues.
Prioritize solid backing behind the mounting surface to support screws and brackets effectively.
This ensures the rail stays stable during slide extension and retraction cycles.
For added protection and durability, consider using a high-quality sealant around the mounting points to prevent water intrusion and potential damage.
Measuring Flange-to-Flange for Accurate Slide Topper Sizing
When measuring for your RV slide topper, start by taking an accurate flange-to-flange measurement to guarantee full coverage of the slide-out box.
This secures the fabric covers not just the slide-out surface but also the flanges, preventing water intrusion and debris buildup.
Follow these steps for precision:
- Use a reliable tape measure and record the total width from one flange edge to the opposite flange edge.
- Measure at multiple points along the slide room to confirm flange alignment and check for irregularities.
- Add a small allowance (typically 1/4 to 1/2 inch) to accommodate fabric tension and mounting hardware clearance.
Accurate flange-to-flange sizing is critical to avoid misalignment, fabric billowing, or incomplete coverage once installed.
Before installation, ensure the camper is properly leveled to avoid frame twist that can affect the fit of the slide topper and cause alignment problems.
Installing RV Slide Topper Components Step-by-Step
With accurate flange-to-flange measurements in hand, you’re ready to begin assembling and installing your RV slide topper components.
Start by positioning the awning rail on the flat surface above the slide room, typically 3 to 6 inches above the flange edge. Ensure it’s straight and parallel to the floor.
Apply butyl tape behind the rail to seal mounting points. Mark drill locations then secure the rail using self-tapping screws.
Next, install access plates and mounting brackets, sealing them similarly.
Assemble the roller tube with spring head, torsion parts, and extension rod.
Feed the fabric into the awning rail, centering the topper carefully. Insert the roller tube into the brackets, locking it in place.
Finally, release spring tension slowly to avoid sudden movement and prepare for operation. Proper sealing at mounting points is essential to prevent leaks and ensure long-lasting durability.
Adjusting, Testing, and Troubleshooting Your RV Slide Topper
Start by extending and retracting your RV slide topper several times to check for smooth, consistent operation.
Pay attention to any resistance, billowing fabric, or misalignment.
Watch for resistance, fabric billowing, or misalignment to maintain smooth and reliable slide topper operation.
Next, verify spring tension to ensure it retracts smoothly without slack or excessive tightness.
If the fabric shifts or catches, adjust it along the lock strip for proper alignment.
Focus on these key adjustments and troubleshooting steps:
- Inspect bracket tightness and awning rail engagement to avoid movement during operation.
- Confirm fabric is centered and secured in the roller tube to prevent shifting.
- Recheck all fasteners, especially self-tapping screws, for secure mounting and sealing.
Addressing these points ensures reliable function and prolongs your slide topper’s lifespan.
Additionally, considering the use of materials with UV resistance can help protect your slide topper fabric from sun damage and extend its durability.
Maintaining Your RV Slide Topper to Prevent Common Issues
After confirming smooth operation and proper alignment of your RV slide topper, maintaining the system regularly helps prevent common issues that can reduce its lifespan or performance.
Inspect the fabric for tears, wear, or loose stitching. Check all fasteners and brackets for tightness and stability.
Clean debris, dirt, and old sealant from mounting surfaces to avoid water intrusion and maintain effective sealing with butyl tape.
Make certain the awning rail remains straight and properly angled to prevent fabric billowing or shifting.
Address any signs of poor retraction immediately by adjusting spring tension or realigning the fabric along the lock strip.
Regular upkeep minimizes risks of damage and guarantees your slide topper operates efficiently and lasts through varied conditions. Additionally, performing regular inspections every six months ensures timely detection and repair of any potential leaks or damage.
Frequently Asked Questions
Can RV Slide Toppers Be Installed on Non-Flat or Curved Slide Room Surfaces?
You shouldn’t install RV slide toppers on non-flat or curved slide room surfaces. The awning rail requires a flat, solid, and straight mounting surface for proper alignment and secure attachment.
Curved or uneven surfaces can cause misalignment, poor fabric tension, and operational issues. If your slide room isn’t flat, you’ll need to modify it or choose a different protection method to guarantee the topper functions smoothly and lasts longer.
What Tools Are Essential for a DIY RV Slide Topper Installation?
You’ll need a cordless drill with self-tapping and drill bits for secure mounting.
A tape measure is essential for accurate flange-to-flange sizing, and a level ensures the awning rail is straight and parallel.
Use a marker or pencil to mark drill points precisely. A screwdriver will help tighten screws, while a utility knife is useful for trimming sealing tape.
Don’t forget safety glasses and gloves for protection during installation.
Are There Specific Slide Topper Fabrics Best Suited for Extreme Weather?
Yes, you’ll want slide topper fabrics designed for extreme weather, typically heavy-duty solution-dyed acrylic or marine-grade vinyl.
These materials resist UV rays, mold, mildew, and water penetration, ensuring durability and maintaining tension under harsh sun or rain.
Look for fabrics with high UV protection ratings and waterproof coatings.
Choosing the right fabric helps prevent premature wear, reduces billowing, and maintains smooth operation, especially in demanding climates or extended outdoor exposure.
How Do RV Slide Toppers Affect Vehicle Aerodynamics or Fuel Efficiency?
You’ll notice that RV slide toppers slightly increase wind resistance when driving, as they add surface area above the slide-out. This can modestly reduce fuel efficiency, especially at highway speeds.
However, if installed flush and aligned properly, the aerodynamic impact is minimized. Ensuring the topper doesn’t flap or billow helps maintain smoother airflow, reducing drag.
Regular adjustments and secure mounting are key to limiting any negative effects on aerodynamics.
Can Slide Toppers Be Customized With Logos or Colors During Manufacturing?
You can customize slide toppers with logos, colors, and patterns during manufacturing. You choose the fabric type, select UV-resistant inks, and specify designs for precise printing.
You guarantee the graphics won’t fade, peel, or affect material durability. You verify compatibility with the roller assembly and mounting hardware.
Fine-Tune Your Rv Slide Topper Installation For Lasting Performance
Now that you’ve installed your RV slide topper, imagine the smooth glide as it extends, shielding your rig from sun and rain.
But don’t stop here; fine-tune those adjustments and keep an eye out for wear. A well-maintained topper not only protects but lasts longer, saving you time and money.
Ready to test your work? One careful tweak could mean the difference between flawless operation and unexpected trouble down the road.
Stay sharp, and your RV will thank you.